How to Vacuum Seal and Ship Alaska Fish
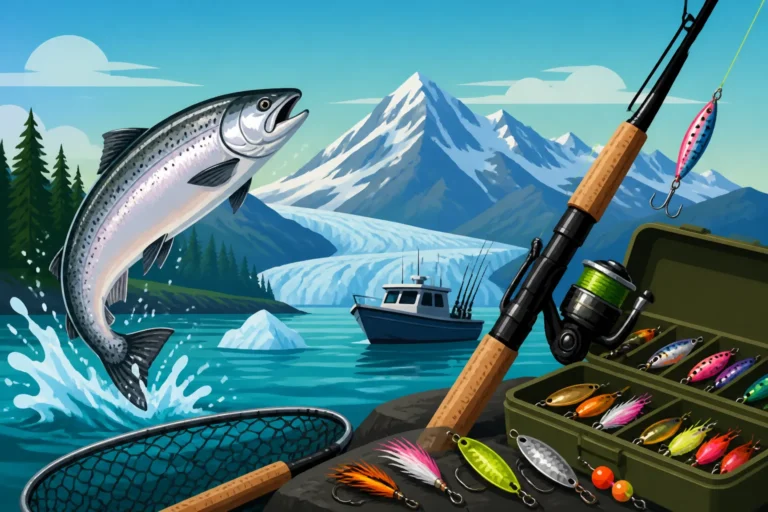
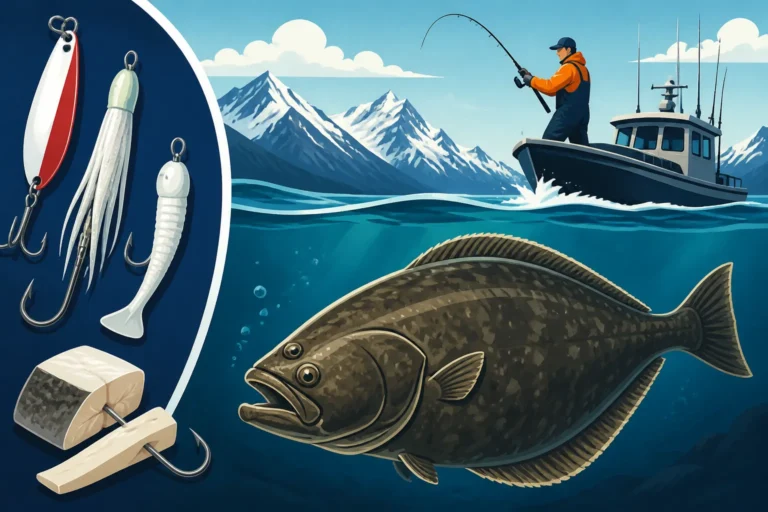
You've just had an incredible fishing trip in Alaska, perhaps reeling in a massive King Salmon from the Kenai River or a barn-door Halibut from Homer. Now comes the crucial, often stressful part: how do you get that pristine, hard-earned bounty home without it spoiling? The thought of all that delicious fish going to waste is enough to make any angler cringe. This comprehensive guide will walk you through the essential steps of vacuum sealing and properly shipping your Alaska fish, ensuring your freezer back home is stocked with top-quality fillets that taste just as fresh as the day you caught them.
Why Proper Fish Preservation Matters for Your Alaska Catch
After all the planning, the travel, the cold fingers, and the thrill of the fight, you’ve finally landed that trophy fish. It’s not just a meal; it’s a memory, a story, and a testament to your Alaskan adventure. But all that effort can be undone in a flash if your fish isn't preserved correctly. This isn't just about avoiding waste; it's about honoring the fish and the experience.
Protecting Your Investment of Time, Money, and Effort
Let’s be real, an Alaska fishing trip isn’t cheap. You’ve invested significant time, money, and personal energy into this experience. From the flight tickets to the charter fees, the specialized gear, and the sheer physical effort of reeling in a big one, every ounce of fish represents a piece of that investment. Imagine spending thousands of dollars and countless hours, only for your prized catch to suffer from freezer burn or, worse, spoil en route. It’s a gut punch no angler wants to feel. Proper preservation is your final, critical step in protecting that investment and ensuring the fruits of your labor make it safely to your dinner plate. It’s the difference between savoring a delicious memory and lamenting a lost opportunity.
Food Safety and Quality for Your Harvest
Beyond the financial and emotional investment, there's the critical aspect of food safety and quality. Fish is a delicate protein. If not handled and stored correctly, it can quickly degrade, losing its flavor, texture, and nutritional value. The goal isn't just to get the fish home, but to get it home in the best possible condition. This means preventing bacterial growth, avoiding dehydration that leads to freezer burn, and maintaining that fresh-caught taste.
Think about it: that flaky, buttery texture of a fresh halibut or the rich, vibrant flavor of a sockeye salmon. Improper handling, like exposing it to air in a regular freezer bag, allows ice crystals to form and dehydrate the fish over time, leading to that unappetizing, dry, and flavorless freezer-burned texture. Vacuum sealing removes the air, which is the primary culprit in this degradation, creating an airtight seal that locks in moisture and freshness. This commitment to quality ensures that when you pull a package from your freezer months later, it still tastes remarkably close to fresh, a true testament to the bounty of Alaska's waters.
The Art of Vacuum Sealing Your Alaska Fish
Vacuum sealing might sound like a professional technique, but it's incredibly accessible and truly the gold standard for preserving your catch. Whether you're processing fish right on the docks or back at your lodge, mastering this skill will pay dividends in flavor and longevity.
Essential Gear for Vacuum Sealing Your Catch
To do this right, you’ll need a few key pieces of equipment. Don't skimp here; quality gear makes a huge difference.
- Vacuum Sealer Machine: There are many models out there, from entry-level home units to heavy-duty commercial machines. Brands like FoodSaver and Weston are popular choices for home use. For an Alaska trip, especially if you’re planning to bring back a lot of fish or process it yourself, consider a slightly more robust model that can handle repeated use. You can often find excellent deals on these, along with compatible rolls and bags, if you look on sites like Amazon before your trip. Having a reliable machine means less frustration and more effective seals.
- Vacuum Sealer Bags/Rolls: These aren't just any plastic bags. They are specifically designed with textured channels to allow air to be drawn out efficiently. You can buy them pre-cut in various sizes or as rolls that you cut to length and seal one end, giving you more flexibility for different-sized fillets. Always opt for freezer-grade, BPA-free bags. Thicker bags offer better protection against punctures and freezer burn over longer periods.
- Sharp Fillet Knife: Before you even think about sealing, you need clean, well-trimmed fillets. A sharp knife, like a high-quality Dexter or Rapala, makes the job easier and safer. If you're wondering how to properly break down your catch, we have guides like How to Fillet a Salmon in Alaska and How to Fillet a Halibut that can walk you through the process step-by-step.
- Cutting Board: A sturdy, non-slip cutting board is essential for safe and efficient filleting.
- Clean Towels/Paper Towels: Keeping your work area clean and ensuring your fillets are dry before sealing is crucial for a good seal. Moisture can prevent a proper vacuum.
Step-by-Step Vacuum Sealing Process
Once you have your gear ready, the process is straightforward:
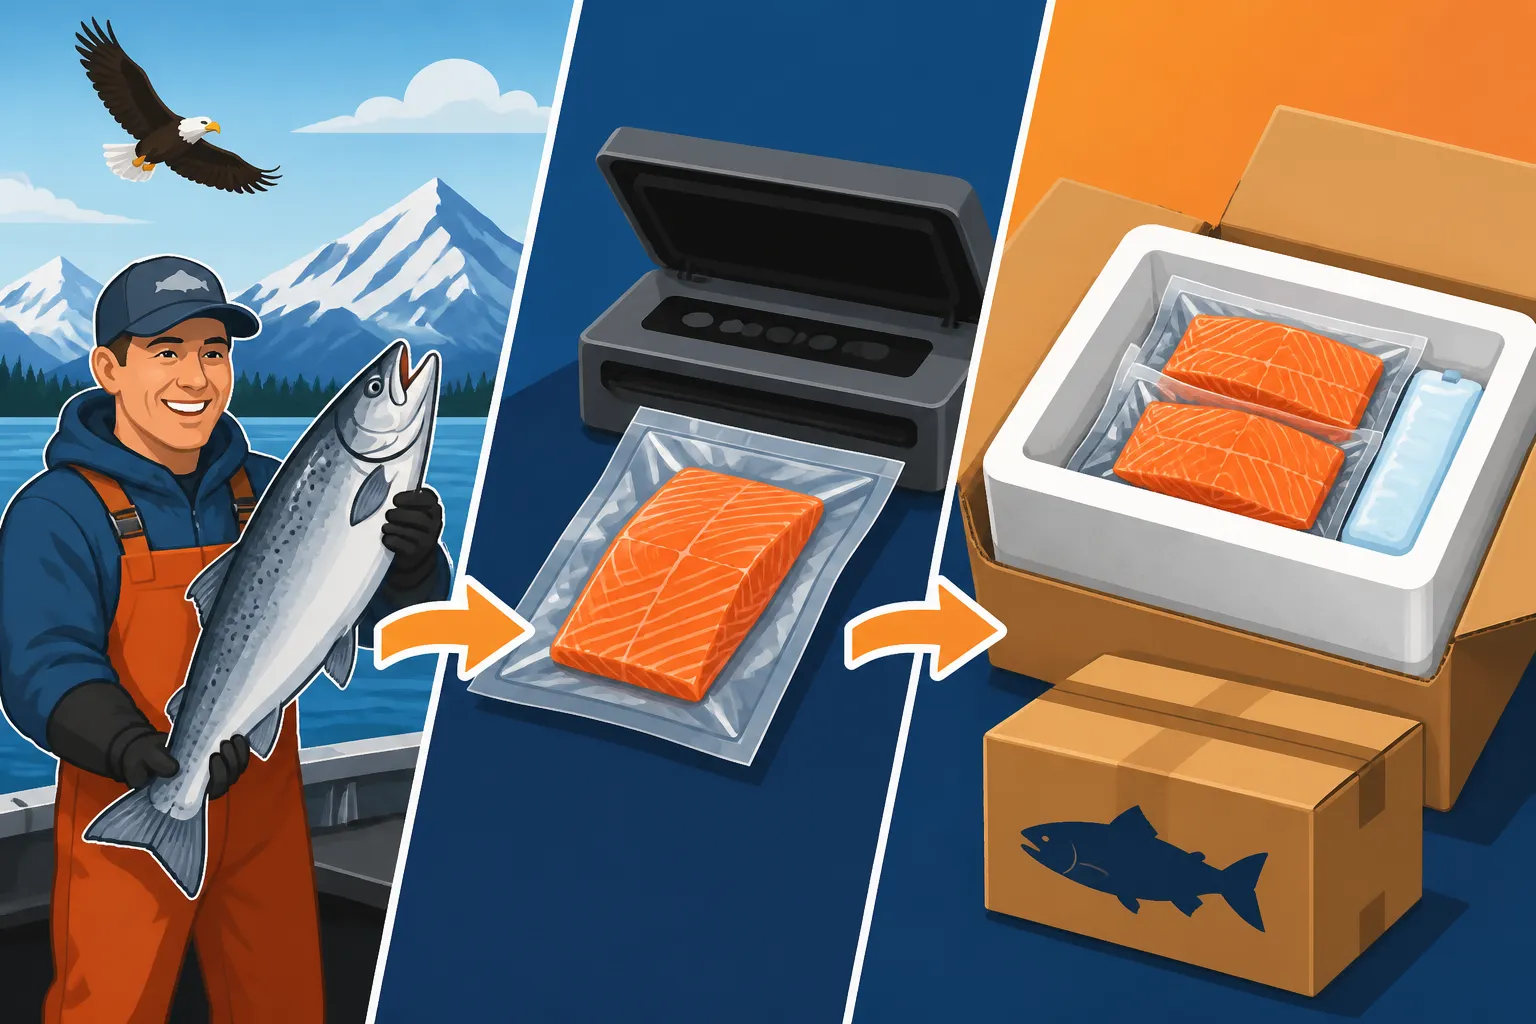
- Fillet and Trim: Start with clean, well-trimmed fillets. Remove any pin bones, skin (if desired), and any dark meat or bloodlines, as these can impart a "fishy" flavor over time. Rinse the fillets quickly in cold water, then pat them thoroughly dry with paper towels. Excess moisture is the enemy of a good vacuum seal.
- Portioning: Decide on your portion sizes. It’s best to seal fish in meal-sized portions that you’ll consume in one sitting. This prevents thawing and refreezing, which degrades quality. For example, two large halibut steaks or several salmon portions for a family dinner. Lay your fillets flat, ensuring no pieces overlap if possible, or arrange them neatly side-by-side if you're doing multiple pieces in one bag.
- Place in Bag: Carefully place the portioned fish into the vacuum sealer bag. Leave enough room at the top (usually 3-4 inches) for the machine to create a strong, clean seal. Make sure the inside of the bag's sealing area is completely dry and free of any fish juices or particles, as this will prevent an airtight seal.
- Vacuum and Seal: Place the open end of the bag into the vacuum sealer channel according to your machine's instructions. Close the lid or engage the sealing mechanism. The machine will draw out all the air, and then automatically heat-seal the bag. Listen for the distinct sound of the motor, and watch the bag compress around the fish. If your machine has a "moist" or "wet" setting, use it, as it will adjust the sealing time for potential residual moisture.
- Label and Date: This step is often overlooked but incredibly important. Immediately after sealing, use a permanent marker to label each bag with the type of fish (e.g., "King Salmon"), the date it was caught/sealed, and where it was caught if that’s a detail you like to remember (e.g., "Kenai River, July 2024"). This helps you rotate your stock and ensures you’re eating the oldest fish first.
Best Practices for Long-Term Freezing
Getting a good seal is just the first part; how you freeze and store it matters just as much for long-term quality.
- Flash Freeze First (Optional but Recommended): For truly pristine results, especially with delicate fillets, consider flash freezing your sealed portions on a flat tray or baking sheet in your freezer for a few hours before stacking. This prevents the fish from freezing into irregular shapes that are harder to stack and can protect against crushing delicate fillets.
- Deep Freeze Immediately: Once vacuum-sealed and labeled, get your fish into a freezer as quickly as possible. The colder, the better. A chest freezer or a dedicated deep freezer is ideal, maintaining a consistent temperature of 0°F (-18°C) or lower. Avoid frequent opening of the freezer door, as temperature fluctuations are detrimental to frozen food quality.
- Stack Flat: When placing bags in the freezer, stack them flat initially until completely frozen. This optimizes space and ensures even freezing. Once solid, you can arrange them more compactly.
- Avoid Overpacking: Don't cram your freezer so full that air can't circulate. This can lead to warmer spots and slower freezing, which forms larger ice crystals and impacts quality.
For general information on all the essential gear you might need for your Alaskan adventure, check out our comprehensive Alaska Fishing Gear and Tackle Guide.
Packing and Shipping Your Frozen Fish Home from Alaska
This is where many anglers get nervous. Getting your carefully preserved fish from Alaska to your home freezer requires careful planning and understanding the logistics. You have a few options, each with its pros and cons.
Understanding Your Shipping Options
Getting your fish home isn't a one-size-fits-all situation. The best choice for you will depend on your budget, how much fish you have, and your travel plans.
- Checked Baggage on Your Flight: This is often the most economical and common method for individuals. Most airlines allow you to check coolers filled with frozen fish as part of your luggage allowance, though overweight or oversized fees may apply. You'll need a sturdy, insulated cooler. Airlines typically require the cooler to be leak-proof, so packing it correctly is paramount. Make sure to check your specific airline's policy on perishable items and dry ice/gel packs well in advance of your flight. Sometimes, one 50-pound box is much cheaper than two 30-pound boxes due to airline weight limits. For detailed insights into transporting your catch, explore our guide on How Much Fish Can You Bring Home from Alaska.
- Air Cargo Services: For larger quantities of fish or if you prefer not to deal with it at the airport, services like Alaska Air Cargo or FedEx offer dedicated fish shipping. This can be more expensive but provides peace of mind, as cargo services are designed for handling perishable goods. They often have stricter requirements for packaging (usually specific fish boxes rather than personal coolers) and may require you to drop off your shipment hours before your flight.
- Professional Fish Processors: Many Alaskan communities, especially popular fishing hubs like Homer, Seward, and Juneau, have excellent fish processing facilities. These places will often fillet, vacuum seal, flash freeze, and pack your fish into airline-approved shipping boxes. They can also arrange for shipping via air cargo directly to your home or help you prepare it for checked baggage. This is a fantastic option if you don't want to deal with the processing yourself or if you're short on time. Expect to pay a per-pound fee for their services, but the convenience and expertise are often worth it. They are experts in Alaska Fish Processing and Shipping Home Rules.
| Shipping Method | Pros | Cons | Cost Implications |
|---|---|---|---|
| Checked Baggage | Often cheapest (if within weight limits), convenient for personal travel | Risk of airline mishandling, potential for overweight fees, limited quantity | Base baggage fee + potential overweight/oversize fees (can add $50-$200 per box) |
| Air Cargo | Designed for perishables, handles large quantities, less personal hassle | More expensive, specific drop-off/pick-up times, stricter packaging rules | Varies by weight, distance, and speed (can be $200-$500+ for a significant shipment) |
| Professional Processor | Expert handling, proper packaging, convenience, often arranges shipping | Highest cost (per pound fee), less control over individual fish processing | Processing fees ($1.50-$3.00/lb) + actual shipping cost |
Preparing Your Cooler for Transport
Regardless of your chosen method, proper cooler preparation is key to keeping your fish frozen solid.
- Choose the Right Cooler: Invest in a high-quality, roto-molded cooler (like a Yeti, Pelican, or Orca) if you're checking it as luggage. These brands offer superior insulation and durability. If you're going with a processor or air cargo, they'll likely use sturdy cardboard fish boxes with thick foam inserts, which are also excellent.
- Pre-Chill Your Cooler: Before packing, pre-chill your cooler by filling it with ice or placing it in a freezer overnight. This lowers the internal temperature, giving your frozen fish a head start against thawing.
- Pack it Tight and Full: Air is your enemy. Pack the vacuum-sealed fish as tightly as possible, leaving minimal air space. The more fish or filler material (like crumpled newspaper or foam peanuts) you have, the better it will insulate itself.
- Dry Ice vs. Gel Packs:
- Dry Ice: This is the ultimate freezing agent. It's significantly colder than regular ice and sublimates (turns directly into gas) without leaving any messy water. If using dry ice, place it on top of your frozen fish. Crucially, check airline regulations! Most airlines have specific rules for dry ice (often limited to 5-5.5 lbs per package and requiring vented containers). Never seal a cooler with dry ice completely shut, as the gas needs to escape, or it could explode. You can often purchase dry ice at local grocery stores in larger Alaskan towns.
- Gel Packs: These are safer and easier to use with fewer restrictions than dry ice. Freeze them solid and pack them around your fish. While not as cold as dry ice, they help maintain temperature and don't make a mess.
- Frozen Water Bottles: A cheap and effective alternative to gel packs. Freeze several plastic water bottles and place them around your fish. You can drink the water once it thaws!
- Secure and Seal: Use heavy-duty packing tape (like Gorilla Tape, also available on Amazon) to seal all seams of your cooler or fish box. Wrap it several times to ensure it's completely secure. If checking as luggage, you might also want to strap it with ratchet straps for extra security against accidental opening.
Navigating Airport and Airline Rules
This is where things can get tricky if you're not prepared. Each airline has its own specific policies regarding perishable goods, coolers, and dry ice.
- Check Policies Early: Always, always, always check your specific airline's policies on "perishable items," "coolers," and "dry ice" or "gel packs" well before your trip. These rules can change, and what was allowed last year might not be this year.
- Declare Your Contents: When checking in, inform the airline staff that you are checking a cooler with frozen fish. If you're using dry ice, you'll need to declare it, and they will likely have you sign a waiver. Don't try to hide it; transparency is key.
- Labels and Identification: Clearly label your cooler or box with your name, contact information, and destination address. Many processors provide labels for their boxes. It’s also wise to put a copy of your itinerary inside the box in case the outer labels are damaged.
- Time it Right: Try to minimize the time your fish spends out of a deep freeze. If possible, pick up your fish from the processor shortly before heading to the airport. Aim for direct flights to reduce transfer times and the risk of delays.
Remember, understanding Alaska Fishing Regulations Explained and staying informed through resources like How to Read Alaska Fishing Regulations Booklet are crucial for a smooth trip from start to finish. Even seemingly minor rules can have big impacts, so it's always better to be over-prepared.
Common Mistakes to Avoid When Shipping Fish
Even with the best intentions, it's easy to make mistakes that compromise your hard-won catch. Being aware of these pitfalls can save you a lot of heartache (and delicious fish).
Underestimating Freezing Time and Temperature
This is perhaps the most common and damaging mistake. You've caught your fish, it's been filleted and vacuum-sealed, and now you want to get it home. But if it's not rock solid frozen all the way through, you're setting yourself up for failure.
- "Frozen" vs. "Deep Frozen": A fillet that feels firm to the touch after a few hours in a standard freezer might not be deep frozen. Large fillets, especially those packed tightly together, can take 24-48 hours, or even longer, in a residential freezer to freeze completely solid to the core. A processor's blast freezer can do it much faster, but if you're doing it yourself, give it ample time.
- Consequences of Partial Freezing: If your fish isn't deep frozen, it will thaw much faster, especially during transit. The outside might still feel cold, but the interior could be soft, allowing bacteria to grow and quality to degrade. You'll arrive home to a thawed, potentially spoiled, mess.
- Planning Ahead: Factor in at least two full days for deep freezing your fish before your departure. If you're working with a charter, ask them about their fish processing services; many offer flash freezing and packaging. Understanding What to Expect on an Alaska Fishing Charter can help you plan this step.
Improper Packaging Choices and Techniques
Your fish's journey home relies heavily on the quality of its packaging. Cutting corners here is a recipe for disaster.
- Not Vacuum Sealing: Using standard freezer bags that don't remove air is a major mistake. Even if you try to squeeze out air, pockets remain, leading to freezer burn. Vacuum sealing is the single best defense against freezer burn and preserves quality for months.
- Weak Bags: Using thin, cheap vacuum sealer bags. These are prone to punctures from fish bones or rough handling, breaking the vacuum seal and exposing your fish to air. Invest in heavy-duty, commercial-grade bags for superior protection. You can often find great value multi-packs on Amazon.
- Leaky Coolers: Using an old, beat-up cooler with poor insulation or a leaky drain plug. Not only will your fish thaw faster, but any meltwater can leak out, causing a mess and potential airline issues. Always use a reliable, well-sealed cooler.
- Insufficient Insulation/Coolant: Not filling the cooler completely or not using enough dry ice or frozen gel packs. Empty space allows air to circulate and warm up. More cooling material equals longer freezing time. The goal is to create a solid thermal mass.
Ignoring Regulations and Logistics
Alaska has specific rules for fishing, and these extend to how you transport your catch. Ignoring them can lead to fines, confiscation, or serious travel headaches.
- Bag Limits: Be absolutely sure you understand and adhere to Alaska's fishing limits and bag limits for each species. Over-harvesting or not properly recording your catch can lead to severe penalties. For example, knowing your Alaska Sockeye Daily Limit by River or Alaska Halibut Daily Limit for Charter Anglers is non-negotiable.
- Harvest Card Compliance: For certain species like King Salmon or Halibut, you might need to record your catch on an Alaska Harvest Record Card. Ensure this is completed accurately and submitted as required.
- Airline Weight and Size Restrictions: Every airline has strict limits for checked baggage. Exceeding these will result in hefty overweight fees. Measure and weigh your cooler before you get to the airport. It's often cheaper to pay for an additional checked bag than to pay an exorbitant overweight fee.
- Lack of Identification: Failing to label your cooler with your name, address, and contact information. If your cooler gets separated from you or delayed, proper labeling is crucial for its return. Put a secondary label inside, just in case.
By understanding these common pitfalls and taking proactive steps to avoid them, you can ensure that your Alaskan fish arrives home safely, perfectly preserved, and ready to be enjoyed as a delicious reminder of your incredible adventure.
Disclaimer
The information provided in this guide is for general informational purposes only and is not intended as legal or professional advice. Fishing regulations, airline policies, and shipping rules can change frequently. Always consult the official Alaska Department of Fish and Game (ADF&G) regulations, your specific airline's current policies, and any local ordinances or guides before planning your trip and processing your catch. Following proper food safety guidelines is crucial for the safe consumption of fish.