Alaska Fish Processing and Shipping Home Rules
It’s a truly exhilarating feeling, isn’t it? Landing a beautiful King salmon, wrestling a huge halibut, or filling your cooler with vibrant sockeye after an epic day on Alaska’s waters. But then, as the excitement settles, a new question often looms large: how on earth do I get all this magnificent fish home? The rules, the logistics, the fear of spoilage – it can feel overwhelming. This guide is here to demystify Alaska's fish processing and shipping home rules, ensuring your hard-earned catch arrives at your dinner table in perfect condition.
Understanding Alaska's Possession and Transport Limits
One of the most common pitfalls for anglers in Alaska is not fully grasping the difference between daily bag limits, annual limits, and possession limits. It’s easy to get caught up in the thrill of the catch, but knowing these rules is paramount to avoid fines and ensure you're compliant with state regulations. Getting this wrong can turn a fantastic trip into a costly headache, especially when you're preparing to head home.
Daily and Annual Bag Limits
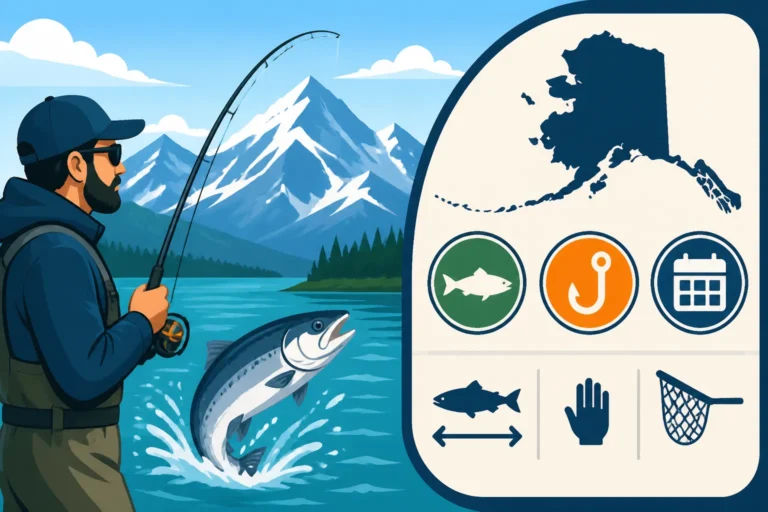
Every species in Alaska has specific daily and annual bag limits, which dictate how many fish of a certain type you can harvest within a 24-hour period and over the entire year. For instance, a particular river might have a daily limit of two sockeye salmon, but a non-resident annual limit of three King salmon. These limits are set by the Alaska Department of Fish and Game (ADF&G) to manage fish stocks and ensure sustainable fishing for everyone. It’s absolutely critical to consult the most current Alaska Fishing Regulations Explained booklet or online resources before you even wet a line, as these rules can change based on in-season emergency orders.
Think of it like this: if you fish for two days and catch your daily limit of two sockeye each day, you'll have four sockeye in your possession. Your annual limit for that species might be much higher, but the daily limit restricts how much you can keep on any given day. This also means you can't simply catch your limit, drop them off at a processor, and go out to catch another limit the same day unless the regulations specifically allow for a new daily bag limit after processing and transport. Usually, it's about what you possess (have under your control) at any given time.
Possession Limits vs. Shipping
This is where many anglers get confused. Your "possession limit" refers to the maximum number of fish you can have on your person, in your cooler, in your vehicle, or stored at a lodge or processor at any given time, regardless of when they were caught. For some species, like certain salmon, the possession limit might be tied directly to the daily bag limit. For others, particularly non-resident King salmon, there's often a strict annual limit that governs how many you can possess in total throughout your trip and take out of the state. You can find comprehensive details in guides like Alaska Fishing Limits and Bag Limits Explained.
When you decide to ship your fish home, those fish still count towards your possession limit until they are officially shipped and out of your immediate control. Once your fish are processed, packaged, and handed over to a common carrier (like an airline or freight company), they are generally no longer considered to be "in your possession" for the purpose of active fishing. However, they do count towards your annual limit and must be properly recorded on your Alaska Harvest Record Card Explained. It's your responsibility to ensure you're not exceeding these limits, even if you’re using a professional processor. Always keep your harvest card up-to-date; it’s a legal document!
Non-Resident Considerations
For those visiting Alaska from out of state, there are often specific regulations that differ from resident rules, particularly concerning annual limits for prized species like King salmon and halibut. Non-residents typically have more restrictive annual limits on certain species to ensure sustainable management of Alaska's fisheries. For example, a non-resident might be limited to catching only a few King salmon per year, regardless of how many trips they take. This is why accurately completing your harvest card is not just a suggestion, but a legal requirement.
It's also worth noting that some regulations, like those concerning the "reverse slot limit" for halibut on charter boats, specifically target non-resident anglers to help conserve larger breeding fish. Before you even set foot in Alaska, reviewing resources like the Alaska Non-Resident Fishing License Guide is crucial. Understanding these nuances will help you plan your trip, manage your expectations for catch limits, and ensure a smooth journey home with your legal catch. Processors are well-versed in these rules, but the ultimate responsibility always lies with the angler.
The Processing Journey: From Catch to Cooler
The journey from a lively fish on the end of your line to a delicious fillet on your plate involves several critical steps. How you handle your fish immediately after catching it, and the subsequent processing it undergoes, directly impacts its quality, taste, and shelf life. Don't underestimate this phase; it's where the magic (or tragedy) happens for your future meals.
On-Boat or Bankside Preparation
The moment a fish comes aboard or is landed on the bank, the clock starts ticking on its freshness. The absolute best practice is to immediately bleed the fish. This involves cutting an artery near the gills to allow the blood to drain completely. Bleeding significantly improves the flavor and appearance of the meat by removing lactic acid and other compounds that can lead to a "fishy" taste. Many experienced anglers in Alaska use the "iki jime" method, a Japanese technique that involves brain spiking to instantly kill the fish, which also helps preserve meat quality.
After bleeding, the next step is usually gutting. Removing the internal organs as soon as possible prevents digestive enzymes from breaking down the flesh. A quick rinse with saltwater or clean fresh water will clean out any remaining blood or contents. Once bled and gutted, the fish should be immediately immersed in an ice slurry – a mixture of ice and water – or packed directly onto clean ice. This rapid chilling slows bacterial growth and enzyme activity, maintaining the firm texture and delicate flavor you traveled so far to experience. If you’re fishing remote locations, having a reliable cooler packed with plenty of ice is non-negotiable.
Professional Fish Processors
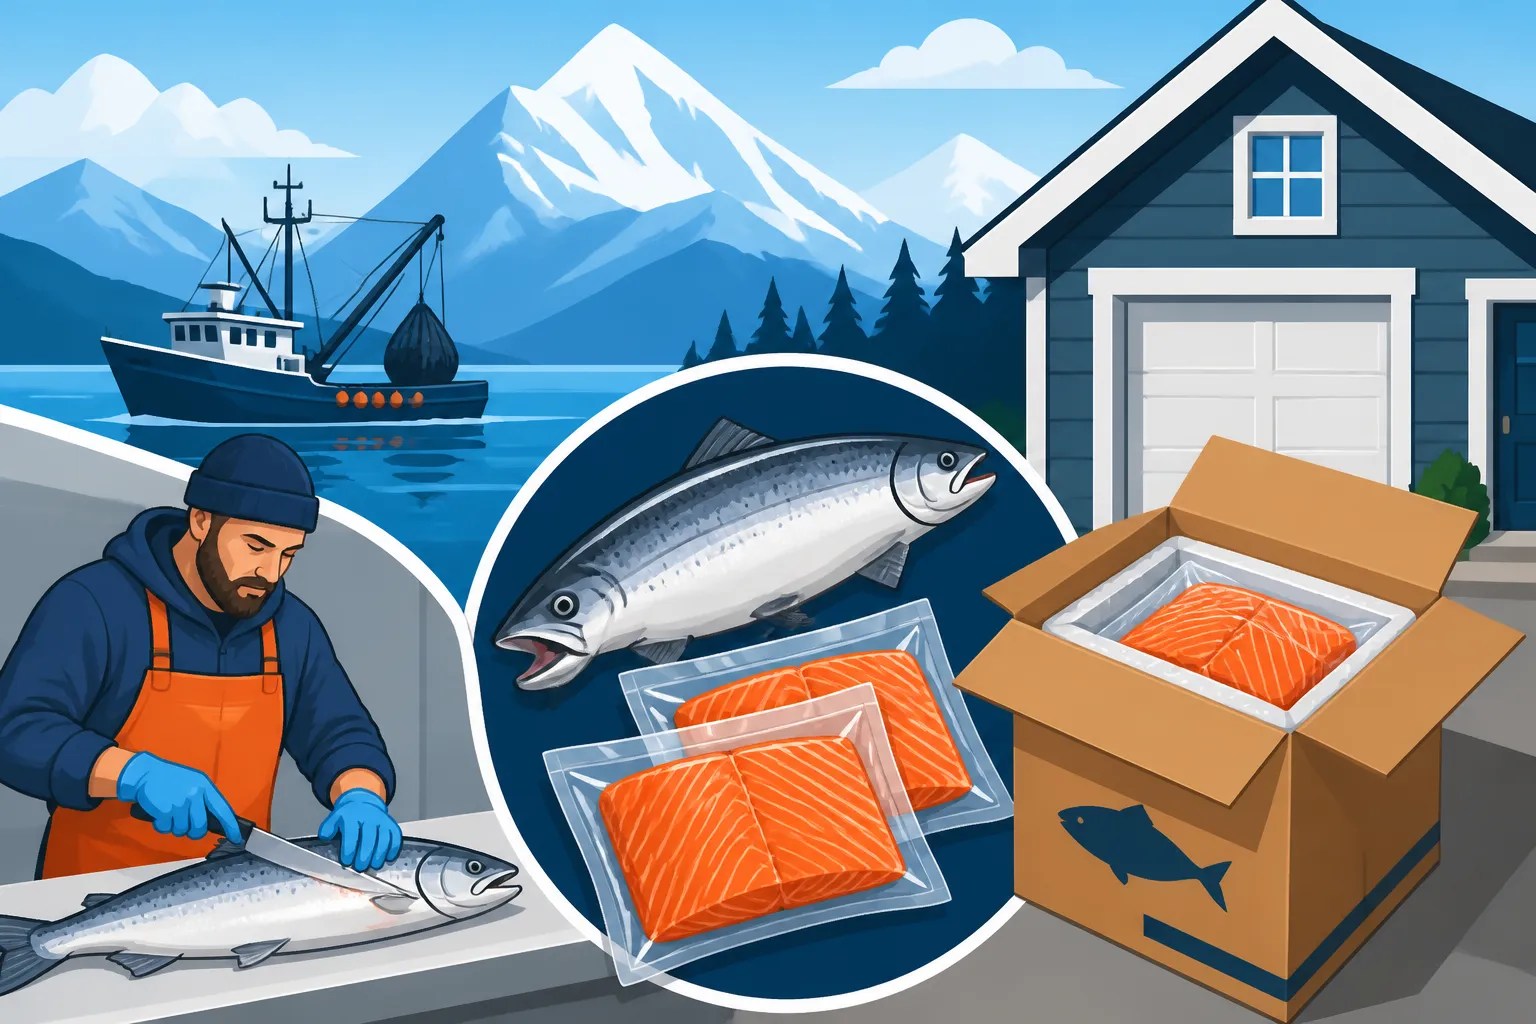
For most visitors to Alaska, entrusting your catch to a professional fish processor is the easiest and most reliable way to handle your fish. These facilities are experts at taking your whole fish and transforming them into perfectly prepared, ready-to-cook portions. Towns like Homer, Seward, and Anchorage boast numerous reputable processors that cater specifically to sport anglers. Businesses like Coal Point Seafood Company in Homer or 10th & M Seafoods in Anchorage are long-standing staples that many anglers rely on.
These processors offer a range of services:
- Filleting and Portioning: They’ll expertly fillet your fish, remove bones, and cut the meat into meal-sized portions according to your preference.
- Skin On/Off: You can usually choose whether you want the skin left on or removed.
- Vacuum Sealing: This is a crucial step. Each portion is individually vacuum-sealed in thick, freezer-grade bags, removing oxygen to prevent freezer burn and extend storage life.
- Flash Freezing: Unlike a home freezer, professional processors use blast freezers that rapidly freeze fish to ultra-low temperatures, preserving the cell structure of the meat and preventing ice crystal formation that can degrade quality.
- Smoking/Canning: Many processors also offer services to smoke or can a portion of your catch, creating delicious, shelf-stable souvenirs.
- Shipping Coordination: Often, they can handle the entire shipping process for you, preparing your frozen, packaged fish in insulated boxes and coordinating with air cargo carriers. This means you simply drop off your fish and pick it up at your home airport, saving a huge amount of hassle.
When choosing a processor, ask about their pricing structure (often per pound of whole fish or processed fish), their turnaround time, and their shipping options. It's smart to arrange these services in advance, especially during peak season, as they can get very busy.
DIY Processing Tips
While professional processors offer unparalleled convenience and quality, some anglers prefer the hands-on approach of processing their own fish. This is definitely doable, but it requires the right tools, knowledge, and dedication to sanitation and proper freezing techniques. If you're staying at a lodge with facilities or have access to a suitable space, it can save you some money and give you full control.
Here’s what you’ll need:
- Sharp Filleting Knives: A good set of filleting knives is essential. You can find excellent options on Amazon, ranging from flexible blades for delicate work to sturdy ones for larger fish. Look for brands like Dexter-Russell or Rapala.
- Cutting Boards: Large, clean cutting boards are a must.
- Vacuum Sealer: A home vacuum sealer is a game-changer for preserving quality. Models from FoodSaver or Seal-a-Meal are popular and readily available on Amazon. Don't forget to stock up on vacuum sealer bags!
- Freezer Paper/Bags: If you don't have a vacuum sealer, heavy-duty freezer paper or thick freezer bags can work, but vacuum sealing is superior for long-term storage.
- Coolers/Ice: For initial chilling and transport.
Steps for DIY Processing:
- Filleting: Learn proper filleting techniques for each fish species. There are countless videos and guides available. Aim for clean, boneless fillets.
- Rinsing and Drying: Briefly rinse fillets in cold water and then pat them thoroughly dry with paper towels. Excess moisture leads to freezer burn.
- Portioning: Cut fillets into meal-sized portions. This makes it easier to thaw and cook just what you need later.
- Vacuum Sealing: Place individual portions into vacuum sealer bags, ensuring no moisture is near the seal area. Seal according to your machine's instructions.
- Freezing: Place vacuum-sealed packages flat in the coldest part of your freezer. While a home freezer can't flash-freeze, getting them as cold as possible, as quickly as possible, is key. Lay them flat so they freeze evenly.
Remember that hygiene is paramount. Keep all surfaces and tools clean to prevent contamination. Also, be mindful of your Alaska Fishing Regulations by Region and what fish need to be recorded.
Packaging Your Catch for Shipping
Proper packaging is the unsung hero of successful fish transport. You could have the freshest fish, expertly processed, but if it's not packaged correctly, all that effort will be for naught. The goal is to keep your fish frozen solid until it reaches its final destination.
The Importance of Proper Freezing
The single most critical factor in shipping fish is ensuring it is rock solid frozen. Not partially frozen, not slushy, but frozen all the way through like a block of ice. This is where professional processors truly shine, with their blast freezers that rapidly drop the temperature to -20°F or even colder. This ultra-fast freezing minimizes ice crystal formation within the fish's cells, preventing the dreaded mushy texture and loss of moisture when thawed.
If you're self-processing, aim to freeze your fish for at least 24-48 hours in your coldest freezer setting. Spreading individual packages out in the freezer rather than stacking them allows for faster and more even freezing. A well-frozen package will stay colder longer during transit, significantly reducing the risk of spoilage.
Vacuum Sealing for Longevity
Vacuum sealing is a non-negotiable step for any angler serious about preserving the quality of their catch. When oxygen is removed from the package, it prevents freezer burn, which is essentially dehydration and oxidation of the fish's surface. Freezer burn doesn't make the fish unsafe to eat, but it severely degrades taste, texture, and color.
As mentioned before, a good home vacuum sealer is a smart investment if you plan to process your own fish regularly. Brands like FoodSaver offer reliable models suitable for home use, and you can stock up on their specialized bags via Amazon. Make sure your fish portions are dry before sealing to ensure a strong, airtight seal. If there's moisture, the seal might fail, or the moisture could turn to ice, puncturing the bag. Doubling bagging can also add an extra layer of protection, especially for larger, oddly shaped pieces.
Choosing the Right Shipping Container
Once your fish is perfectly frozen and vacuum-sealed, the next step is selecting the right container for its journey home. Insulated shipping boxes are your best friend here.
- Styrofoam Coolers: These are commonly used by processors and are effective. Look for high-density, thick-walled coolers, typically 1.5 to 2 inches thick. These fit inside a sturdy cardboard outer box for added protection.
- Insulated Shipping Boxes: Many companies, including some processors, sell specialized insulated boxes designed for perishable goods. These often combine a durable outer shell with internal insulation.
- Gel Packs vs. Dry Ice:
- Gel Packs: These are reusable and good for keeping things cold, but they won't maintain deep-freeze temperatures for extended periods, especially on their own. They're best for shorter transit times or as a supplement to dry ice.
- Dry Ice: This is the gold standard for shipping frozen fish. Dry ice is frozen carbon dioxide and is much colder than regular ice (-109.3°F or -78.5°C). It sublimates (turns directly into gas) rather than melts, so there’s no messy water.
- How much to use: A general rule of thumb is 5-10 pounds of dry ice per 24 hours of transit for a 50-pound box. However, always check with your chosen carrier, as some have restrictions on the amount of dry ice allowed.
- Handling: Always handle dry ice with heavy gloves as it can cause severe frostbite. Ensure good ventilation, as large quantities of dry ice in an enclosed space can displace oxygen. Pack it on top of your fish, as cold air sinks.
For carrying fish as checked baggage on a plane, a high-quality rotomolded cooler (like a Yeti or RTIC) is an excellent investment. They offer superior insulation and durability compared to standard Styrofoam. Just be sure to check airline weight restrictions, as these coolers are heavy even when empty. You can often find deals on durable coolers and insulated shipping supplies on Amazon.
Shipping Your Fish Home: Methods and Logistics
The method you choose to ship your fish will depend on your budget, time constraints, and destination. Each option has its own set of rules and logistical considerations. Knowing your options beforehand will save you a lot of last-minute stress. If you've been wondering How to Vacuum Seal and Ship Alaska Fish, this section will walk you through the practicalities.
Air Cargo Options
For speed and reliability, air cargo is often the preferred method for getting your frozen fish from Alaska to your home. Major airlines, particularly Alaska Airlines, offer robust cargo services from various Alaskan hubs like Anchorage, Fairbanks, and Juneau.
- Alaska Air Cargo: This is a popular choice due to their extensive network in and out of Alaska. You typically drop off your properly packaged, frozen fish at the cargo terminal a few hours before the flight and then pick it up at your destination airport's cargo facility.
- Cost: Rates are usually based on weight and destination. It can be pricey, but often worth it for the peace of mind. Expect costs in the range of $2-$4 per pound, but this can vary greatly.
- Booking: While some walk-ins are accepted, it's always best to pre-book your cargo space, especially during peak fishing season.
- Requirements: They will have specific rules regarding packaging, labeling, and dry ice limits. Always check their current guidelines. Your fish must be frozen solid.
- Other Freight Services: Depending on your location and the urgency, other dedicated air freight companies might also be an option, but Alaska Air Cargo is usually the most convenient from within the state.
Air cargo means your fish often arrives within 24-48 hours, minimizing the risk of thawing. However, you'll need to coordinate pickup at the cargo facility, which might be separate from the passenger terminal and have specific operating hours.
Standard Ground Shipping UPS/FedEx
Using services like UPS or FedEx for ground shipping frozen fish is generally not recommended for cross-country or multi-day transit, especially if you're shipping from a remote Alaskan town. While they do offer express services that can work, ground shipping without adequate dry ice will likely result in thawed, spoiled fish.
- Feasibility: For very short distances (e.g., within Alaska or to a neighboring state with 1-day transit), and with sufficient dry ice and insulation, it might be possible. However, the risk is high.
- Limitations: Ground services usually take several days. Dry ice, while effective, sublimates over time. It's incredibly difficult to maintain sub-zero temperatures for 3-5 days in a standard ground shipment, even with good insulation.
- Cost: While potentially cheaper than air cargo, the cost of special packaging and dry ice, combined with the risk of spoilage, often outweighs the savings.
If you absolutely must use ground shipping, opt for the fastest possible express service (overnight or 2-day air) and pack your box with generous amounts of dry ice, ensuring it's clearly labeled as containing dry ice and perishable goods. Always declare the contents accurately.
Carrying Fish as Checked Baggage
This is a very popular option for many anglers, especially those who don't have an excessive amount of fish or are traveling directly home. You can bring your frozen, packaged fish with you as checked luggage on your flight.
- Cooler Choice: A sturdy, well-insulated cooler is key. Rotomolded coolers (like those from Yeti, RTIC, or Engel) are excellent, but even thick-walled Styrofoam coolers inside a cardboard box can work for shorter flights if packed meticulously. You can find robust travel coolers on Amazon that are designed to withstand baggage handling.
- TSA Regulations: The Transportation Security Administration (TSA) allows frozen seafood in both carry-on and checked bags. However, if it’s in carry-on, it must be frozen solid when presented for screening. If it begins to melt, it may not be permitted. For checked bags, most airlines prefer the fish to be frozen solid and well-packaged.
- Dry Ice/Gel Packs: Dry ice is generally permitted in checked baggage, but there are strict limits (usually 5.5 lbs or 2.5 kg per passenger) and specific labeling requirements. It must be vented to allow gas to escape. Regular ice is not allowed as it will melt and leak. Gel packs are often permitted and are a good option if dry ice isn't feasible or you only need to keep fish cold for a few hours.
- Airline Weight and Size Restrictions: Pay very close attention to your airline's checked baggage weight and size limits. Oversize or overweight bags can incur significant fees, potentially making this option more expensive than cargo. A typical checked bag limit is 50 lbs. If your fish plus cooler exceeds this, you'll pay extra, or have to consider using a smaller cooler or shipping via cargo. For instance, if you're taking a fishing trip to a hotspot like the Kenai River Fishing: Complete Guide, you'll need to plan your catch according to these limits.
- Labeling: Clearly label your cooler with your name, contact information, and destination. Also, if using dry ice, ensure the package is marked "Dry Ice" or "Carbon Dioxide, Solid" with the net weight of the dry ice and a vent sticker.
Always double-check your specific airline's policies on perishable goods and dry ice before you travel. Policies can vary, and it's better to be informed than surprised at the check-in counter. When pondering How Much Fish Can You Bring Home from Alaska, remember airline limits are a major factor.
Common Mistakes to Avoid and Essential Tips
Bringing home your Alaskan fish is a fantastic reward for your angling efforts, but it's easy to make mistakes that can lead to disappointment or even legal trouble. A little foresight and careful planning can make all the difference.
Overlooking Regulations
This is probably the biggest and most common mistake. People get excited, catch fish, and forget that Alaska's fishing regulations are complex and frequently updated. Ignoring daily bag limits, annual limits, or specific rules for certain areas (like Alaska Halibut Charter Regulations Explained) can lead to citations, fines, and the confiscation of your catch.
- Always Check Emergency Orders: Regulations in Alaska are dynamic. Fish runs can be stronger or weaker than expected, leading ADF&G to issue "Emergency Orders" that change bag limits, open/close fisheries, or modify gear restrictions with little notice. Before every fishing trip, and even during multi-day trips, check the ADF&G website or local offices for the latest emergency orders. This is non-negotiable. Many local outfitters will have the most current information, or you can check resources like Where to Find Alaska Emergency Order Announcements.
- Understand Species-Specific Rules: A King salmon has different rules than a sockeye, and halibut rules vary by charter type and region. Don't assume.
- Fill Out Your Harvest Card: This card is legally binding. Properly recording your catch, especially for species like King salmon and halibut, is mandatory. A detailed guide like How to Fill Out an Alaska Harvest Record Card can walk you through it. Failing to record a fish or misrepresenting your harvest can lead to serious penalties.
Inadequate Packaging
The second major pitfall is underestimating the importance of proper freezing and packaging. You don't want to open your cooler at home only to find a thawed, smelly mess.
- "Frozen Solid" Means Solid: As reiterated, your fish must be completely frozen through. A flimsy Styrofoam cooler with lukewarm fish and a few ice cubes simply won't cut it for a cross-country journey.
- Vacuum Seal Every Time: Even if you're processing yourself for a short car ride, vacuum sealing provides an unbeatable barrier against freezer burn and preserves quality.
- Pack Tightly: Whether in a shipping box or a checked cooler, pack your fish tightly. Minimize air pockets, which act as insulators and can speed up thawing. Fill any gaps with newspaper, bubble wrap, or extra dry ice if space allows.
- Reinforce Packaging: For Styrofoam coolers, always put them inside a sturdy cardboard box and tape the box securely with heavy-duty packing tape. This protects the Styrofoam from damage during transit.
Last-Minute Arrangements
Trying to arrange fish processing and shipping at the last minute, especially during peak season (June-August), is a recipe for stress and potential disappointment. Processors and air cargo facilities can get swamped.
- Book Ahead: If you know you'll be using a professional processor, call them in advance to inquire about their services, pricing, and whether you need to reserve a slot for your fish.
- Understand Turnaround Times: Processing and freezing can take time, sometimes 24-48 hours. Factor this into your travel plans. Don't expect to catch a fish one morning and fly out with it that afternoon unless you've made very specific, pre-arranged, high-cost arrangements.
- Air Cargo Cut-off Times: Airlines have strict cut-off times for accepting cargo before a flight. Miss it, and your fish waits for the next available flight, potentially delaying its arrival and increasing thawing risk.
By planning ahead, understanding the rules, and taking meticulous care in processing and packaging, you can ensure that the delicious taste of Alaska fishing truly makes it home with you. It’s a part of the adventure, and with the right approach, it’s a perfectly manageable one.
| Shipping Method | Pros | Cons | Typical Cost (per lb, rough estimate) | Key Considerations |
|---|---|---|---|---|
| Air Cargo (e.g., Alaska Air Cargo) | Fastest, most reliable for large quantities | Most expensive, requires airport cargo terminal pickup | $2-$4 | Ideal for large hauls, professional processing often includes this, dry ice is common. |
| Checked Baggage (Your Cooler) | Convenient, fish travels with you | Airline weight/size limits, personal handling | ~Airline excess baggage fees | Good for smaller amounts, strict dry ice limits, durable cooler essential. |
| Standard Ground Shipping (UPS/FedEx) | Potentially cheapest upfront | High risk of thawing/spoilage, slow | ~$1-$2 | Only for very short distances, heavy dry ice required, not recommended for long trips. |
Disclaimer
The information provided in this guide is for general informational purposes only and is not intended as legal advice. Alaska fishing regulations, possession limits, and shipping rules are subject to change without notice. It is the responsibility of each individual angler to consult the most current Alaska Department of Fish and Game (ADF&G) regulations and any applicable emergency orders before fishing and transporting their catch. Always verify shipping policies directly with your chosen airline or shipping carrier.