How to Rig a Spreader Bar for Halibut
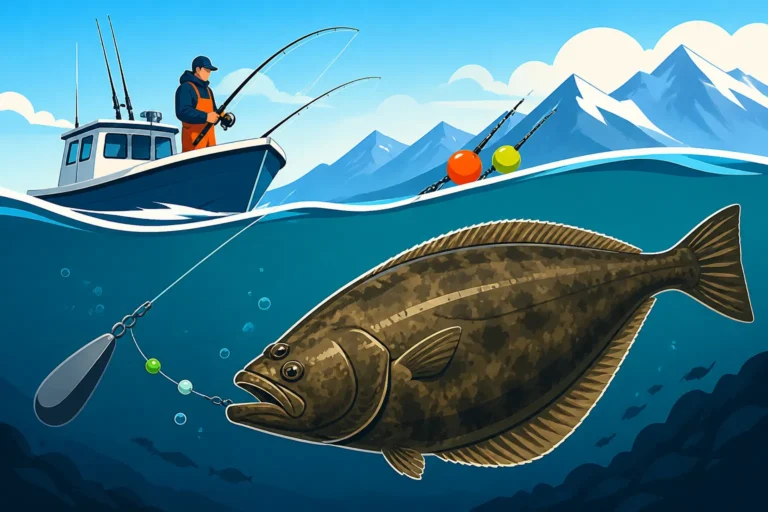
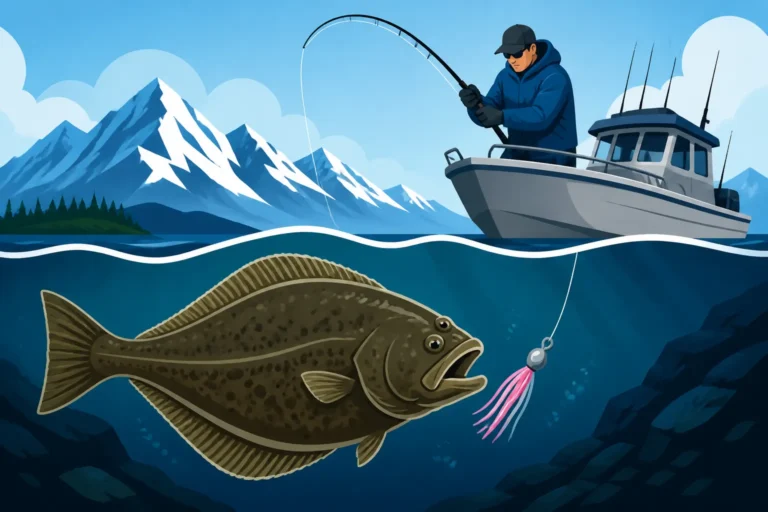
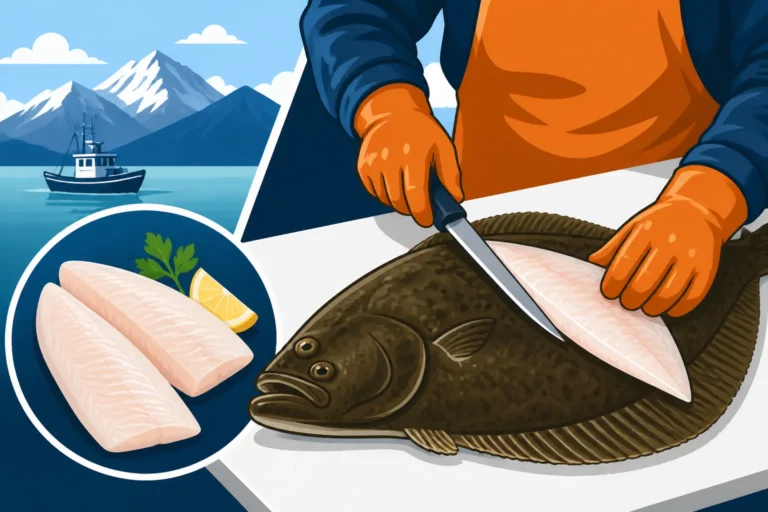
It's incredibly frustrating when you've traveled all the way to Alaska, dreamed of wrestling a "barn door" halibut, and your gear just isn't performing. The deep, often swift currents of the Last Frontier can make it feel like your bait isn't even reaching the strike zone, let alone presenting properly. This comprehensive guide is dedicated to demystifying one of the most effective setups for these magnificent flatfish: the halibut spreader bar, ensuring your next Alaska fishing adventure is filled with successful hook-ups and less head-scratching.
Why a Spreader Bar is Your Halibut Game Changer in Alaska
You see them on charter boats all over places like Homer and Seward, but what exactly makes a spreader bar so indispensable for halibut fishing in Alaska? It’s not just another piece of tackle; it’s a strategic tool designed to overcome the challenges of deep-water, big-fish angling. Halibut, being bottom dwellers and opportunistic predators, respond incredibly well to a presentation that mimics what they naturally hunt.
Creating an Irresistible Presentation
Halibut have surprisingly keen eyesight, especially when you consider they spend their lives camouflaged against the seabed. A spreader bar fundamentally changes how your bait looks and moves in the water. Instead of your bait spinning awkwardly or getting lost in the turbulent currents directly behind your heavy sinker, the spreader bar ensures it’s extended out, away from the main line and weight. This provides a wider, more natural-looking profile, often resembling a small school of struggling baitfish or a single, enticing morsel dancing tantalizingly just off the bottom.
Think about it: in the often murky or low-light conditions found in deeper waters, a static bait might go unnoticed. But a bait that’s allowed to sway and glide freely, presented horizontally thanks to the spreader bar, can trigger an instinctual strike from a curious or hungry halibut. It’s all about creating that visual enticement that shouts, "Easy meal!" across the vast, dark ocean floor.
Minimizing Line Twist and Snags
One of the most common frustrations in deep-water fishing is line twist. Dropping heavy weights and bait through hundreds of feet of water, often with strong tidal currents, can cause your main line to twist into a frustrating mess, weakening it and making it prone to tangles. A well-designed spreader bar acts as a stabilizer. Its rigid arm keeps your main line, sinker line, and leader separated, significantly reducing unwanted line twist and the dreaded "pigtail" effect on your main line.
Beyond twist, snagging is another constant battle when fishing near the bottom. While no rig is entirely snag-proof, the spreader bar’s design helps. By positioning the bait leader a foot or more away from the sinker, it often lifts the bait just enough to dance over minor bottom obstructions while the sinker, designed to break away, takes the brunt of any hang-ups. This means less time re-tying and more time with your bait in the water, which is precious when you’re out on an Alaska fishing charter.
Enhancing Your Strike Zone and Hook-Up Ratio
The primary goal of any fishing rig is to get your bait in front of the fish and facilitate a hook-up. The spreader bar excels at this by giving your bait maximum exposure. Imagine your bait fluttering 18-24 inches to the side of your main weight. This creates a larger "footprint" on the ocean floor, increasing the chances that a cruising halibut will spot it.
When a halibut does decide to strike, the separation provided by the spreader bar often results in a cleaner bite. The fish can engulf the bait without immediately feeling the resistance of the heavy sinker or the main line. This allows the circle hook to do its job more effectively, rotating into the corner of the fish's mouth as it swims away, leading to more solid hook-ups and fewer missed opportunities. This subtle advantage can be the difference between a story about "the one that got away" and a photo with a trophy fish.
Deconstructing the Anatomy of a Halibut Spreader Bar Rig
Before you can confidently tie up a spreader bar rig, it's essential to understand each component and its function. Think of it like building a reliable machine; every part has a specific purpose that contributes to the overall success. Skimping on quality in any area can lead to heartbreak when you're battling a massive Alaska halibut.
The Spreader Bar Itself
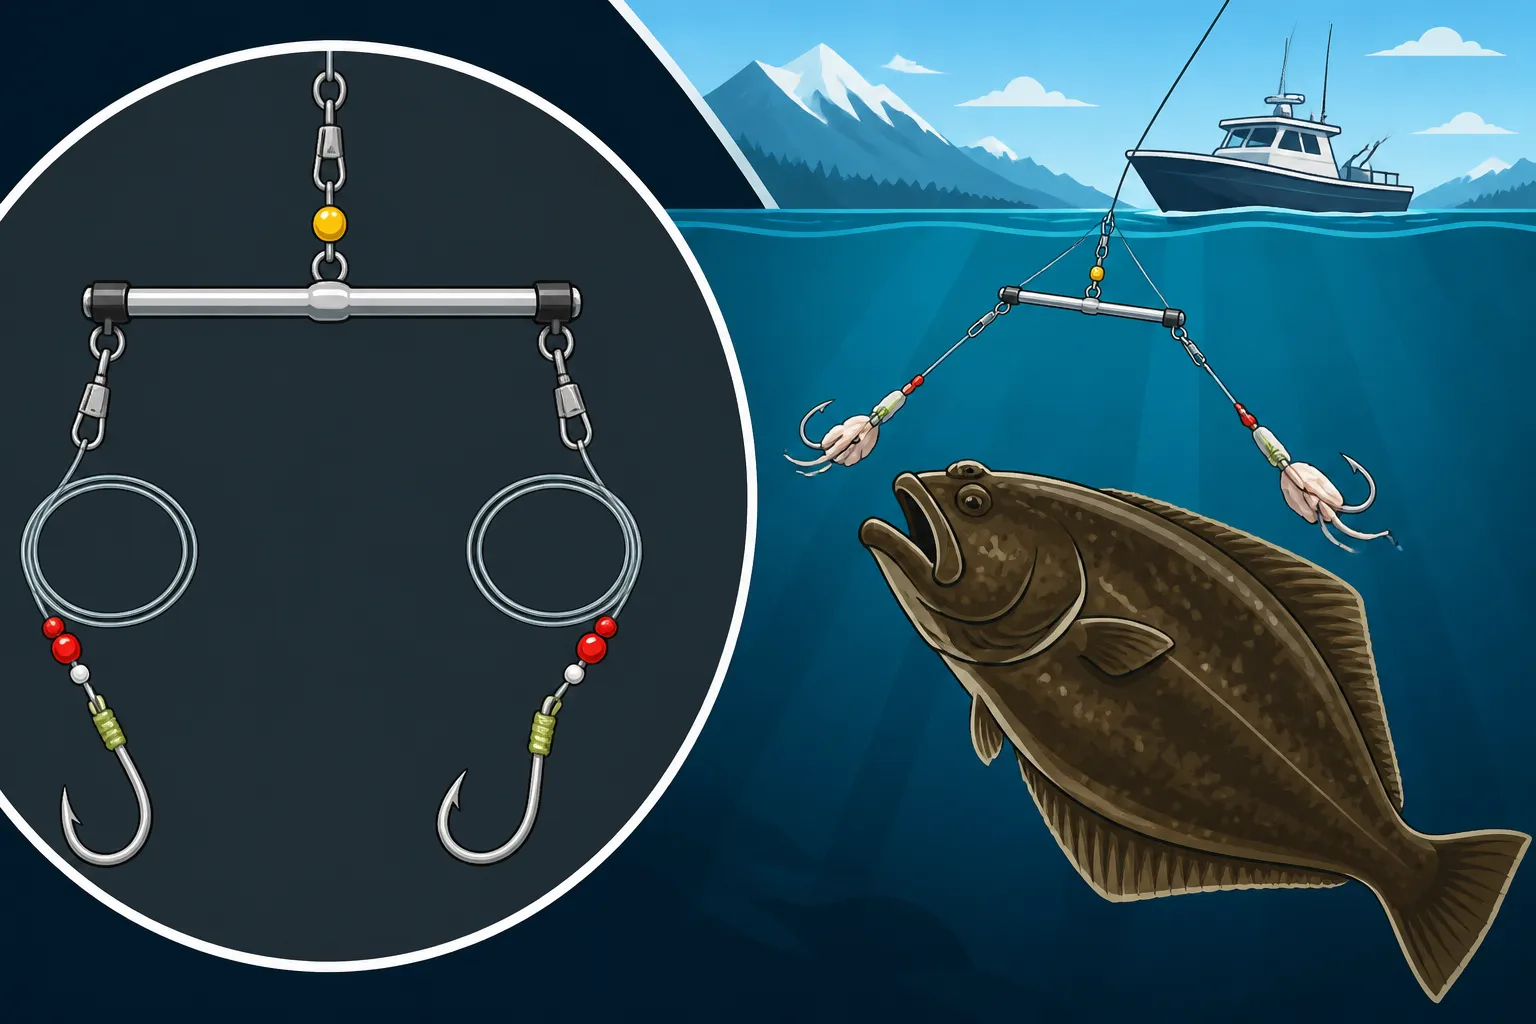
This is the backbone of your rig. A typical halibut spreader bar consists of a rigid main arm, usually made from heavy-gauge stainless steel wire or extremely robust monofilament (often 200 lb test or more), ranging from 12 to 24 inches in length. At one end, it will have a strong swivel or a reinforced loop where your main fishing line attaches. At the other end, the bar will typically branch into two attachment points. One branch is for your sinker line, and the other is for your main leader and hook.
When selecting a spreader bar, prioritize strength and corrosion resistance. Saltwater is brutal on gear, and a flimsy bar can bend or break under the stress of heavy weights and powerful fish. You'll often find these available at local tackle shops in fishing towns, but a quick search on Amazon will also reveal many options. Look for models with heavy-duty swivels and crimps already built in; these details ensure durability and smooth operation in challenging conditions.
The Sinker Line and Lead Weight
The sinker line is a crucial safety feature. It's a relatively short piece of monofilament, typically 12-18 inches long, and deliberately lighter in breaking strength than your main line or the leader to your hook. Common breaking strengths for sinker lines range from 40 to 80 pounds, depending on the main line strength and the weight you're dropping. The purpose? To create a "breakaway" point. If your heavy lead weight gets hopelessly snagged on the rocky Alaskan seabed, this lighter line will break, allowing you to retrieve the rest of your valuable spreader bar rig, saving you time, money, and frustration.
For lead weights, you'll need something substantial to reach the depths where halibut reside and to hold your rig steady in the current. Weights can range from 16 ounces (1 pound) up to 5 pounds or even more, depending on the depth you're fishing (which can be several hundred feet), the strength of the current, and the type of bait you’re using. Common shapes include pyramid sinkers, cannonball weights, or even specialized lead-head jigs that combine weight with an attractive lure. You might want to carry a variety of weights to adapt to changing conditions.
The Main Leader and Hook
This is where the direct connection to the fish is made, so quality here is paramount. Your main leader for halibut should be incredibly strong and abrasion-resistant. Many experienced anglers opt for 150-300 lb test monofilament or fluorocarbon leader material. Fluorocarbon offers excellent invisibility in water, which can be an advantage, though the sheer aggression of a halibut often means they're not picky about leader visibility. The length of this leader typically ranges from 3 to 6 feet, giving your bait plenty of freedom of movement.
For hooks, large, heavy-duty circle hooks are the standard for Alaska halibut. Sizes commonly range from 16/0 to 24/0. Circle hooks are fantastic because they are designed to "self-set" in the corner of the fish's mouth as it swims away, minimizing gut-hooking and making for a safer, easier release if necessary. Brands like Mustad, Owner, and Gamakatsu are renowned for their strength and sharpness. You can learn more about Best Circle Hooks for Alaska Halibut to ensure you're using the right kind. You can often find a good selection of these heavy-duty hooks at most fishing supply stores, including large online retailers like Amazon.
Swivels and Snaps
Don't underestimate the small but mighty swivel. High-quality swivels are essential for preventing line twist at various points in your rig. A heavy-duty barrel swivel or a ball-bearing swivel (even better for preventing twist) should connect your main fishing line to the top of the spreader bar. Another strong swivel might be incorporated into your main leader just above the hook, especially if you're using a bait that's prone to spinning.
Heavy-duty snaps or clips can also be incredibly useful, particularly for quickly attaching and detaching your lead weights. This allows you to rapidly adjust your weight as current and depth conditions change without having to re-tie knots. Always ensure any snaps or swivels you use are rated for a higher breaking strength than your main line and leader, as they are often critical failure points if they aren't up to the task.
Your Step-by-Step Guide to Rigging a Halibut Spreader Bar
Alright, let's get hands-on. Rigging a spreader bar isn't rocket science, but paying close attention to knot strength and proper connections will make all the difference when you're fighting a substantial halibut. This step-by-step process will ensure your rig is robust and ready for action in the challenging Alaskan waters.
Step 1: Attach Your Main Line to the Spreader Bar
This is the first connection in your entire system. Take the main fishing line coming from your rod and reel. This line should be heavy, typically 60-100 lb braided line for serious halibut fishing. You'll need to tie it directly to the sturdy swivel or loop located at the top of your spreader bar.
For this crucial connection, opt for a knot known for its strength and reliability. A Palomar knot is an excellent choice, as is an improved clinch knot, or even a specialized braid knot like the double Uni knot if you're using braided mainline. Ensure you wet your knot before tightening it down to prevent friction heat from weakening the line. Pull steadily and firmly to cinch it tight. Alternatively, many anglers prefer to use a heavy-duty snap swivel on their main line, which then clips directly onto the spreader bar's top loop. This allows for quick changes between different spreader bar setups or other types of rigs.
Step 2: Rig the Sinker Line
Remember, this is your sacrificial line designed to break if your weight snags. Cut a piece of monofilament line, about 12 to 18 inches in length, with a breaking strength of 40-80 lbs. This should be significantly lighter than your main leader and main line.
First, tie one end of this lighter mono directly to your chosen lead weight. For pyramid sinkers or cannonballs, a simple uni knot or improved clinch knot will suffice. If you're using a lead-head jig as your weight, you'll simply tie directly to the jig's eye. Next, take the other end of this sinker line and tie it to the designated sinker attachment point on one arm of the spreader bar. This connection needs to be secure enough to hold the weight during normal fishing but weak enough to break under extreme snagging pressure. Again, a uni knot works well here. Double-check that this line is indeed lighter than your main leader so it functions as intended.
Step 3: Prepare Your Main Leader and Hook
This is the business end that hooks the fish. For Alaska halibut, you'll want a heavy-duty leader, generally 150-300 lb test monofilament or fluorocarbon. Cut a length of about 3 to 6 feet. The exact length can vary; some prefer shorter for less tangles, others longer for more bait movement.
Now, take one end of this stout leader and tie your chosen circle hook to it. As discussed, a large circle hook (16/0 to 24/0) is ideal. The snell knot is a fantastic choice for circle hooks because it helps the hook orient perfectly for a solid hookset when the fish takes the bait and swims away. If you're not comfortable with a snell, a very strong uni knot or offshore swivel knot will also work. Ensure all knots are meticulously tied and tested. Using good quality tools like crimps for these heavy lines, especially for fluorocarbon, can also provide a stronger, cleaner connection than knots alone. You can find detailed instructions and tools for these knots and crimps on YouTube or by searching for Best Fishing Gear and Tackle Guide.
Step 4: Attach the Leader to the Spreader Bar
With your hook securely tied to your main leader, take the other, un-hooked end of this leader. This end needs to be tied to the other designated attachment point on the spreader bar – the one that is not holding the sinker line.
Again, use a very strong, reliable knot like a Palomar, improved clinch, or an offshore swivel knot. This connection is critical as it will bear the full weight and power of any halibut you hook. By attaching it to the separate arm, you ensure your bait is suspended at a good distance from your heavy lead weight, allowing for that natural, enticing presentation.
Step 5: Add Your Bait
Now for the final, most exciting part: rigging your bait! The choice of bait is crucial for halibut. Popular choices include whole herring, large chunks of salmon (especially oily species like salmon bellies or heads), octopus, or squid. For maximum scent and visual appeal, many anglers will combine a large piece of bait with an artificial attractant like a glow-in-the-dark skirt or a large plastic grub.
When rigging whole herring or large chunks of fish, ensure your circle hook is threaded through the bait in a way that leaves the hook point completely exposed and ready to do its job. For herring, many anglers thread the hook through the lower jaw and out the top of the head, or through the body just behind the gills, making sure the hook hangs freely. The goal is a natural presentation that won't impede the hook's ability to turn and set. Don't be afraid to experiment with how you rig your bait – sometimes a subtle change can make all the difference. For some great tips on what tempts these flatfish, check out our guide on Best Bait for Alaska Halibut.
Maximizing Your Halibut Haul: Tips and Troubleshooting
Having a perfectly rigged spreader bar is a fantastic start, but catching halibut consistently in Alaska requires a bit more finesse and understanding of their behavior. These powerful fish demand respect, and adjusting your technique and gear can significantly improve your success.
Bait Selection and Presentation Precision
Fresh bait is paramount. While halibut are scavengers, they overwhelmingly prefer a fresh, oily, and enticing meal over something that's been sitting in the sun all day. Whether you’re using whole herring, large chunks of salmon, octopus, or squid, ensure it’s in prime condition. Many local tackle shops in towns like Homer, the "Halibut Fishing Capital of the World," or Seward will sell fresh bait daily.
Beyond freshness, think about how you present it. A spreader bar gives your bait great action, but adding visual attractors can make it irresistible, especially in deep, dark waters. Glow-in-the-dark squid skirts, large beads, or reflective flashers placed just above your bait can significantly increase its visibility and appeal. You can find a wide variety of these accessories, including some highly effective glow-in-the-dark options, on Amazon to enhance your rig. Experimentation is key; some days, the fish prefer a subtle offering, while on others, they want something loud and proud.
Mastering Fishing Depth and Technique
Halibut are demersal, meaning they live on or near the seabed. Therefore, the cardinal rule of halibut fishing is simple: get your bait to the bottom and keep it there. How to Bottom Fish for Alaska Halibut isn't just a suggestion; it's a necessity. Drop your spreader bar rig all the way to the bottom until you feel the sinker thud, then reel up just a crank or two. This ensures your bait is in the strike zone without constantly snagging on obstructions.
However, "on the bottom" doesn't mean leaving your sinker dragging through the mud. You need to adjust your depth frequently. As your boat drifts, or as the tide and current change, the depth beneath you will vary. Continuously monitor your line and adjust, letting out a little line to stay on the bottom or reeling up slightly to clear snags. A gentle jigging motion—lifting your rod tip a foot or two and then slowly lowering it—can also impart a lifelike action to your bait, mimicking a struggling fish and often provoking a strike.
The Art of the Hookset with Circle Hooks
One of the biggest mistakes novice halibut anglers make with circle hooks is trying to set the hook with a forceful jerk, like you would with a J-hook. Don't do it! Circle hooks are designed to be self-setting. When you feel a bite—which can range from a subtle tap to a massive rod-bending tug—the key is to resist the urge to yank. Instead, simply tighten your line and begin to reel steadily. As the halibut swims away with the bait, the circle hook will naturally slide to the corner of its mouth and securely set itself.
This technique not only results in more consistent hook-ups but also significantly reduces the chances of gut-hooking the fish, making for an easier and safer release if you catch an undersized fish or choose to let one go. Understanding the mechanics of these hooks is vital for success, so revisiting resources like Best Circle Hooks for Alaska Halibut can truly hone your technique.
Navigating Alaska's Ever-Changing Regulations
Alaska's fishing regulations are dynamic and can change based on fish stock health, emergency orders, and even the specific area you're fishing. It is absolutely crucial to be aware of the current rules. This includes understanding Alaska Fishing Regulations Explained in general, and specifically for halibut, paying close attention to Alaska Halibut Charter Regulations Explained if you're on a guided trip, or Alaska Halibut Daily Limit for Charter Anglers and Alaska Halibut Size Limit Explained.
Emergency orders are particularly important in Alaska; they can modify limits, seasons, or even closures with very little notice. Always check the Alaska Department of Fish and Game (ADF&G) website or their physical regulation booklets before and during your trip. A responsible angler is a successful angler who respects the resource.
Common Mistakes to Avoid When Halibut Fishing
- Underestimating Tackle Strength: Halibut are immense and powerful. Don't bring gear designed for trout to an Alaskan halibut fight. You need heavy-duty rods, reels, and line that can withstand immense pressure. For tips on battling these beasts, refer to How to Fight a Barn Door Halibut.
- Impatience: Halibut fishing can sometimes be a waiting game. Don't constantly reel up to check your bait. Let it sit in the strike zone. Patience is often rewarded.
- Ignoring the Current: Strong currents will sweep your bait away from the bottom or make it impossible to hold depth. Be prepared to adjust your weight or move to a different drift.
- Poor Knot Tying: Every knot in your rig is a potential failure point. If you're unsure about a knot, practice it until it's perfect, or use crimps for heavy leader materials where appropriate.
- Forgetting Your Harvest Record Card: In Alaska, for certain species, you must record your catch immediately. For halibut, while not always required on the card itself, understanding the Alaska Harvest Record Card Explained is part of being a compliant angler, especially if you also target salmon.
By understanding the spreader bar, rigging it correctly, and applying these tips, you'll be well on your way to a memorable and productive halibut fishing experience in Alaska!
Spreader Bar Components At-a-Glance
Here’s a quick overview of the essential components for a halibut spreader bar rig:
| Component | Purpose | Common Materials/Sizes | Where to find (Example) |
|---|---|---|---|
| Spreader Bar | Separates mainline, sinker, and bait for a wide, natural presentation | Stiff stainless steel wire or heavy mono (200lb+); 12-24 inches | Tackle shops, online retailers like Amazon |
| Sinker Line | Attaches lead weight to bar; designed to break if snagged on bottom | 40-80 lb monofilament; 12-18 inches long | Tackle shops, Amazon |
| Lead Weight | Gets rig to desired depth and holds it on the bottom | Pyramid, cannonball, or lead-head jigs; 16 oz – 5 lbs+ | Tackle shops, marine supply stores |
| Main Leader | Connects hook to bar; provides abrasion resistance and strength | 150-300 lb monofilament or fluorocarbon; 3-6 feet long | Tackle shops, Amazon |
| Circle Hook | Self-setting hook, reduces gut-hooking, strong for large fish | 16/0 – 24/0 (e.g., Mustad, Owner, Gamakatsu) | Tackle shops, Amazon |
| Swivels/Snaps | Prevent line twist, allow quick changes, ensure strong connections | Heavy-duty barrel or ball-bearing swivels, robust snaps | Tackle shops, Amazon |
| Bait | Primary attractant for halibut, provides scent and visual appeal | Whole herring, salmon chunks, octopus, squid | Local fish markets, tackle shops |
| Attractors (Optional) | Enhance visual appeal, especially in deep or dark water | Glow-in-the-dark skirts, beads, flashers | Tackle shops, Amazon |
Disclaimer
The information provided in this guide is for general informational purposes only. Fishing regulations in Alaska are subject to change by the Alaska Department of Fish and Game (ADF&G) at any time, including through emergency orders. Always consult the most current official ADF&G regulations before engaging in any fishing activity. Adherence to all local, state, and federal regulations is the responsibility of the angler.