How to Anchor for Alaska Halibut
Oh, the joy (and sometimes sheer frustration!) of trying to hold your boat exactly where you want it in Alaska's powerful currents while targeting those elusive, bottom-dwelling halibut. It’s a challenge many of us face, watching our perfect drift turn into a frantic chase, or worse, losing that honey hole because the anchor just won't bite. This guide is all about mastering the art and science of anchoring for Alaska halibut, giving you the know-how to stay put and put more fish in your boat.
Understanding the Importance of Anchoring for Halibut
When you're out on the vast waters of Alaska, battling the elements and the sheer size of the fish, one of the most fundamental skills to master is how to anchor effectively. Especially when it comes to halibut, getting your boat to stay precisely where you want it can make all the difference between a memorable day and a frustrating one.
Why Anchoring is Critical for Halibut Success
Halibut are truly fascinating creatures of the deep. They're primarily ambush predators, perfectly camouflaged on the ocean floor, waiting for an unsuspecting meal to swim by. They don't typically chase bait long distances; instead, they prefer to lie in wait in areas with good structure, like underwater humps, drop-offs, or rocky ledges, where prey naturally congregates or is funneled by currents. This behavior means that if you're not presenting your bait right on their doorstep, or at least in their feeding lane, your chances of a hook-up diminish significantly.
Anchoring allows you to maintain a consistent position over these productive zones. Imagine finding a promising rock pile or a subtle contour change on your fish finder. If you're drifting, even slowly, you'll pass over that prime real estate in a matter of minutes. By anchoring, you can soak your bait there for an extended period, giving multiple halibut in that vicinity the opportunity to find your offering. This patience often pays off with larger, more consistent catches. It also makes it easier to manage your lines, keep tangles at bay, and focus on the fishing rather than constantly adjusting your boat's position. This precision is especially key when you’re trying to hit a specific depth range or piece of structure known for holding these "barn doors."
Reading the Environment: Tides, Currents, and Bottom Structure
Alaska's marine environment is dynamic, and successful anchoring hinges on your ability to interpret and react to it. The sheer power of the tides and currents, particularly in areas like Cook Inlet or Resurrection Bay near Seward, can be astounding. A strong tide can make an improperly set anchor drag for miles, or prevent it from setting altogether. Before you even think about dropping your anchor, observe the water: how fast is the current moving? Which direction is it flowing? How strong is the wind, and from what direction? These factors will dictate your approach.
Understanding the bottom structure is equally vital, not just for finding halibut but for getting your anchor to hold. Is it sandy, muddy, gravelly, or a gnarly rock garden? Each bottom type requires a slightly different anchor strategy. Halibut often prefer edges of structure, so if your chartplotter shows a transition from soft bottom to hard rock, that's often a prime target. Many anglers use a combination of their chartplotter, fish finder, and even historical track data to pinpoint these spots. A good fish finder will show you not only the depth but also the hardness of the bottom and often reveal the presence of baitfish or larger marks that could be halibut. Knowing what lies beneath will help you choose the right anchor type and deploy it with confidence, ensuring it digs in and holds firm against whatever Alaska throws at you.
Choosing the Right Anchor System for Alaska Halibut
Don't underestimate the importance of your anchoring system. It's not just a chunk of metal and a rope; it's your lifeline to staying on that perfect fishing spot. A well-chosen and properly maintained anchor setup is essential for halibut fishing in Alaska's often challenging conditions.
Types of Anchors Suitable for Alaskan Waters
When it comes to anchors, one size certainly doesn't fit all, especially in Alaska. The type of anchor you choose should be dictated by the kind of bottom you expect to encounter and the size of your boat.
- Claw Anchor (Bruce-style): These are incredibly popular in Alaska, and for good reason. Their design allows them to dig into a variety of bottom types, from mud and sand to gravel and even some rocky areas. They have excellent holding power and are less prone to breaking free in shifting currents. For many recreational halibut anglers, a Bruce-style anchor is a reliable all-around choice. You can often find durable versions readily available on Amazon.
- Fluke Anchor (Danforth-style): These anchors are champions in soft bottoms like mud and sand. Their large flukes dig deep, providing exceptional holding power. However, they aren't as effective on hard or rocky bottoms, where they tend to skate without biting. If you know you'll be fishing primarily over sandy flats or silty channels, a good quality Danforth can be an excellent option.
- Grapnel Anchor (Folding Anchor): While often used for smaller boats or kayaks, a heavy-duty grapnel can be useful in exceptionally rocky terrain where other anchors might get permanently stuck. Their prongs can wedge into cracks, but they generally offer less holding power in soft bottoms and can sometimes be difficult to retrieve if they get really wedged. They're often considered a secondary or "foul weather" anchor for specific, challenging bottoms.
It's crucial to consider the weight and size of your anchor relative to your boat. A good rule of thumb is to go a size up from what's recommended for your boat if you're frequently fishing in strong currents or exposed waters, which is often the case when chasing halibut in Alaska.
Essential Anchor Rode Components
Your anchor is only as good as the rode (the chain and line) connecting it to your boat. Skimping on these components is a recipe for disaster.
- Anchor Chain: This is non-negotiable. The chain's weight helps the anchor lie flat and dig in horizontally, maximizing its holding power. Without adequate chain, your anchor will pull up at too steep an angle and likely drag. For general halibut fishing, you'll want at least 15-30 feet of appropriately sized galvanized chain, but more is always better, especially in deeper water or strong currents. Think of it as the shock absorber and the setting mechanism for your anchor.
- Anchor Line (Rode): This is the main connection to your boat. Nylon three-strand rope is a common choice due to its elasticity, which helps absorb shock from waves and boat movement, preventing the anchor from being yanked free. The diameter should match your boat size, and the length is critical for scope.
- Scope: This is the ratio of the length of your deployed anchor rode (chain + rope) to the depth of the water (plus the height of your bow from the waterline). A commonly recommended minimum scope for recreational anchoring in good conditions is 7:1 (seven feet of rode for every one foot of depth). In strong currents, heavy winds, or rough seas, you might need 10:1 or even more to ensure your anchor holds. Underscoping is one of the most common reasons anchors drag.
- Shackles and Swivels: Use appropriately sized, marine-grade shackles to connect the anchor to the chain and the chain to the rode. A swivel can be helpful to prevent twisting of the rode, particularly when the anchor is being retrieved. Ensure all connections are secure and regularly inspect them for wear or corrosion.
To truly master anchoring, having a complete, robust system is key. You can assemble various components or look for pre-assembled kits. Many experienced anglers look for heavy-duty anchor components on Amazon to ensure they're getting quality gear that can stand up to Alaska's demanding conditions.
Here's a quick comparison of common anchor types for halibut fishing:
| Anchor Type | Ideal Bottom Types | Holding Power (Relative) | Pros | Cons |
|---|---|---|---|---|
| Claw/Bruce | Mud, Sand, Gravel, Rocky | Excellent | Versatile, consistent, sets quickly | Can be bulky, may get stuck in very rocky areas |
| Fluke/Danforth | Mud, Sand, Silt | Very High | Exceptional in soft bottoms, lightweight for its power | Poor on rocky or very hard bottoms, can foul if not set right |
| Grapnel/Folding | Very Rocky, Coral, Light Mud | Moderate | Compact, good for highly foul bottoms | Low holding power in soft bottoms, can be hard to retrieve if wedged |
Step-by-Step Guide to Effectively Anchoring for Halibut
So, you've got your robust anchor system ready. Now, let's talk about the actual process of getting that anchor to bite and hold in the right spot. It's more than just tossing it overboard; it's a careful dance with the elements.
Planning Your Drop: Spot Selection and Approach
This is where preparation meets precision. Before you even think about deployment, you need a plan. First, identify your target spot. This might be a known halibut hot spot from a previous trip, a promising rock pile you've marked on your GPS, or a depth contour that looks good on your chartplotter. When you're fishing for "chicken" halibut or aiming for a trophy "barn door" halibut, precision pays off.
Once you have your target, consider the wind and current. You want your boat to settle over the spot, not drift past it. To achieve this, you'll typically approach the spot from downwind or downcurrent. This means you'll pass your target, and then, as you drop your anchor, the wind and current will pull your boat back over the desired fishing grounds. Let's say your GPS shows a sweet spot at 100 feet of depth, and you're aiming for a 7:1 scope. That means you'll need approximately 700 feet of rode out. If your bow is 5 feet above the water, you're actually looking at a total drop of 105 feet of vertical distance, so a bit more than 700 feet of rode. This is critical for getting the anchor to lay flat and set properly. Calculate your desired scope before you start your approach. Aim to drop your anchor at a point upstream or upwind from your target, allowing for the swing of your boat. For example, if your target is 100 feet deep and you want 700 feet of rode, and you know your boat will swing, you might need to drop your anchor 600-700 feet before your spot to ensure you end up right on it. Many experienced anglers use their GPS to track their drift and mark the ideal anchor deployment point.
Deploying and Setting Your Anchor
Now for the action! Proper deployment is crucial for a secure set. The general rule is to deploy from the bow of your boat, as this provides the most stable hold and allows your boat to "weathervane" naturally into the wind or current. Deploying from the stern can be dangerous, especially in rough water, as it can make your boat unstable and prone to being swamped.
With your boat slowly moving backwards (or simply drifting backward with the current/wind), begin to gently lower your anchor. Don't just throw it overboard! Letting it free-fall can cause the chain to foul the anchor or create kinks in the line. Pay out the anchor rode steadily, feeling the anchor hit the bottom. Once it's on the bottom, continue paying out line, allowing the chain to stretch out along the seabed. As you pay out more line, the boat will continue to drift back. This is where your pre-calculated scope comes in. Once you've paid out the desired amount of rode, slowly bring the boat to a stop using your engine, easing into the anchor.
Now comes the "setting" part. Engage your boat's engine in reverse (very gently at first, then increasing power) for a minute or two. This action helps to dig the anchor flukes firmly into the seabed. You should feel the boat resist, and ideally, your GPS should show that your boat is no longer drifting but holding its position. Keep an eye on your GPS; if you see the boat still slowly moving, the anchor might be dragging, and you'll need to re-evaluate. This process is about patiently ensuring that your anchor has a solid, secure bite on the bottom.
Monitoring and Adjusting Your Position
Once you believe your anchor is set, it's time to confirm and monitor. Look at your GPS again. Is your track line showing a solid, unmoving position? Or are you slowly drifting? Even a slow drift of a few feet per minute indicates a dragging anchor, and you'll need to pick it up and try again. Watch your anchor line; it should be taut but not vibrating wildly.
Sometimes, even with a good set, the fish just aren't biting in that exact spot. You might be a little off your target. Instead of a full re-anchor, consider a "short scope" adjustment. This involves slightly shortening your anchor rode by taking up a bit of line. This will pull your boat slightly forward, pivoting around the anchor point. You can also try a "power drift" if you have two anchors or a stern anchor, using your engine to gently move the boat a few yards left or right of your primary anchor. This allows you to fan out your fishing area without fully pulling up and re-anchoring, which is a huge time saver.
For optimal success, especially when you're trying to fish prime areas like those in the "Best Fishing Spots in Alaska," constant vigilance of your position is key. Remember, fish move, and tides change, so be ready to adapt.
Safety and Retrieval Considerations
Anchoring safely and efficiently isn't just about catching fish; it's about boat handling skills and protecting your gear and yourself. Alaska's waters can be unpredictable, and knowing how to deal with common anchoring challenges is crucial.
Anchor Retrieval Techniques and Tools
Retrieving a heavy anchor from deep water, especially one that's dug in firmly, can be a real workout.
- Manual Retrieval: For smaller boats or lighter anchors, you might just pull it up by hand. Always wear gloves to protect your hands from rope burn or cuts. Use your boat's forward momentum (very slow idle) to help pull the anchor free, rather than relying solely on arm strength. Slowly drive forward while pulling on the line, easing the anchor out of the bottom.
- Electric Windlasses: For larger boats and deeper water, an electric windlass is a game-changer. These powered winches do the heavy lifting for you, bringing the anchor and chain back to the bow with the push of a button. Many quality windlasses can be purchased from marine suppliers or through larger retailers like Amazon, offering a significant upgrade in convenience and safety, especially if you're battling strong currents or heavy seas. Ensure your boat's electrical system can handle the load.
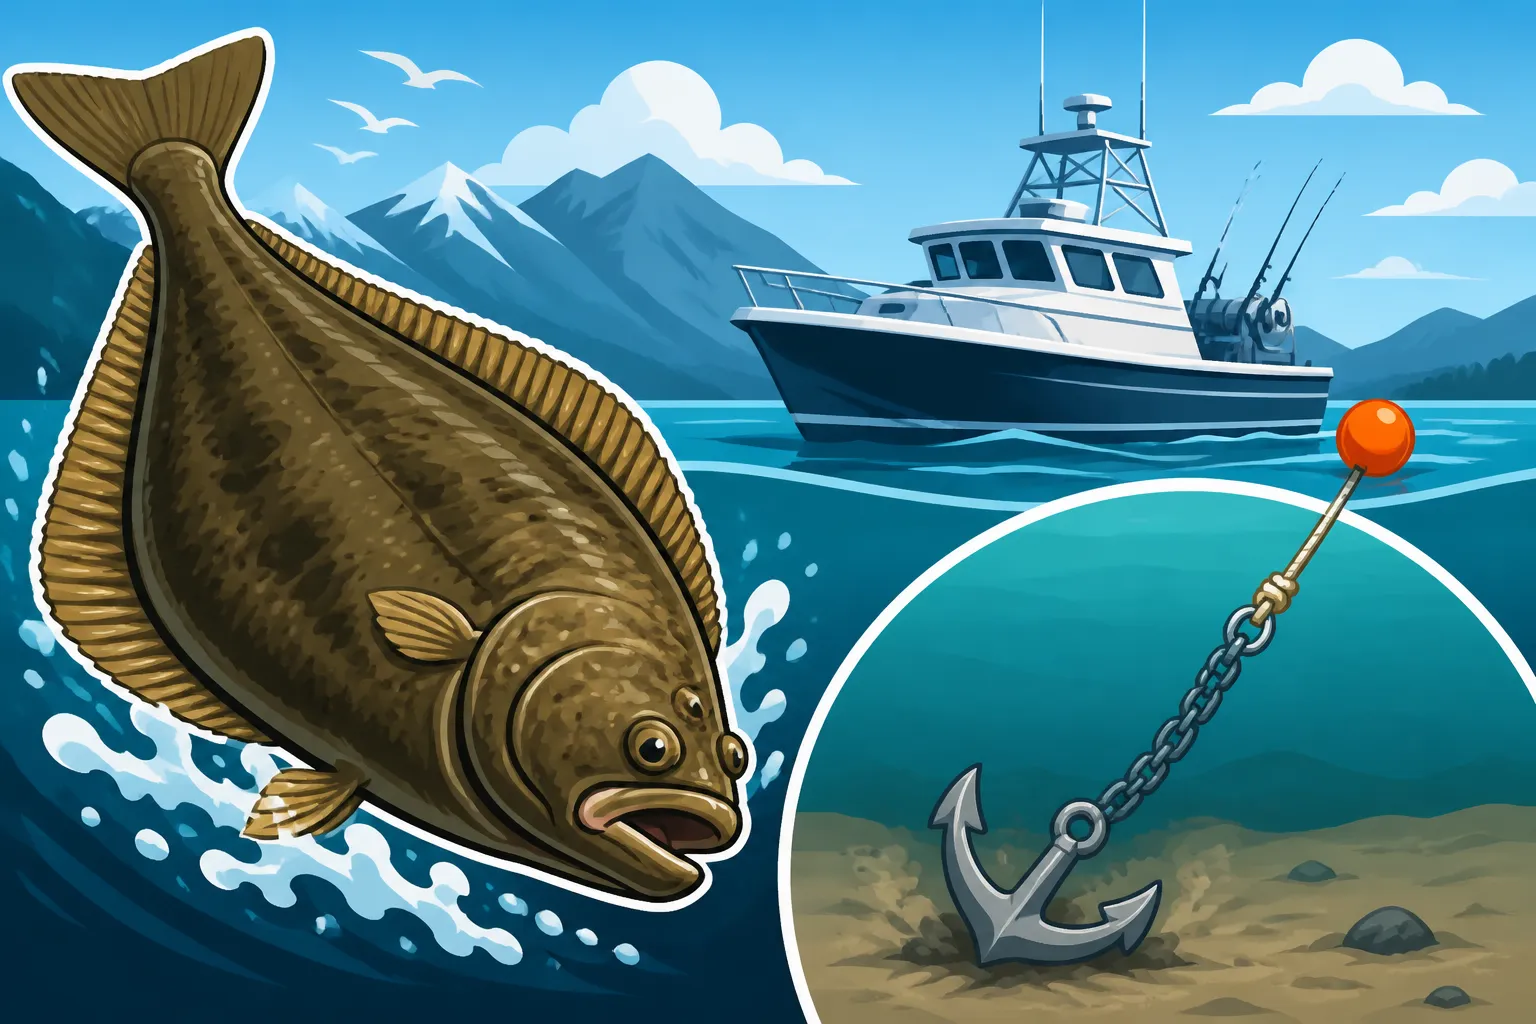
- Anchor Buoy and Ring (Trip Line Alternative): This method is incredibly popular for heavy anchors or sticky bottoms in places like Homer where the halibut are plentiful. Attach a large, buoyant float (the anchor buoy) and a specialized ring to your anchor line. Drive your boat past the anchor, allowing the ring to slide down the line to the anchor. As you continue to drive, the buoy and ring system lifts the anchor straight up from the crown (the end opposite the flukes), effectively "tripping" it free from the bottom. This reduces the strain on your boat and back, and often prevents the anchor from getting stuck. This is especially useful when you're targeting those big halibut and using heavy tackle, as discussed in "How to Set Up a Halibut Rig for Alaska."
Always ensure all crew members know the retrieval plan. Keep hands and feet clear of the anchor line and chain when the anchor is being pulled in.
Common Anchoring Challenges and Solutions
Even with the best gear and technique, you'll encounter challenges. It's Alaska, after all!
- Fouled Anchors: This is probably the most common and frustrating issue. Your anchor gets wedged in rocks, a sunken log, or another piece of bottom structure.
- Solution 1 (Anchor Buoy/Ring): As mentioned, this method often allows the anchor to be pulled from the opposite direction, freeing it.
- Solution 2 (Driving Circles): Sometimes, driving slow circles around the anchor point while keeping tension on the line can change the angle of pull and dislodge it.
- Solution 3 (Trip Line): A less common but effective method for very foul bottoms is to attach a separate "trip line" from the crown of the anchor, run it back to the boat, and use it to pull the anchor free from the opposite end. Be careful, as this line can easily get tangled with your main rode or even with your fishing lines if not managed properly.
- Dragging Anchor: Your anchor simply isn't holding, and your boat is drifting.
- Solution: First, immediately identify if you're dragging (GPS, visual landmarks). If so, quickly retrieve your anchor, motor back upwind/upcurrent, and try again. This time, deploy more scope. If you were at 5:1, try 7:1 or even 10:1. If it continues to drag, you might be over a particularly soft or smooth bottom where your anchor type isn't effective. Consider moving to a different spot or using a different anchor if you have a secondary one. Strong currents, like those encountered when fishing near the "Kenai River," can be notorious for making anchors drag.
- Weather Changes and Emergency Procedures: Alaska's weather can turn on a dime. A calm morning can quickly become a windy, choppy afternoon.
- Solution: Always monitor weather forecasts. If conditions deteriorate rapidly, prioritize safety. If you're struggling to hold, it's often safer to retrieve your anchor and seek shelter or a more protected fishing spot. In extreme situations, be prepared to cut your anchor line if it's the only way to avoid danger, though this should be a last resort. Always have a sharp knife readily accessible. Knowing how to read emergency orders from the Alaska Department of Fish and Game (ADF&G), as outlined in "Alaska Fishing Emergency Orders Explained," can also provide crucial information about rapidly changing conditions or closures that might impact your anchoring plans.
Mastering these techniques will not only increase your halibut catch but also make your time on the water safer and more enjoyable. Knowing your gear, understanding the environment, and having a plan for every situation are the hallmarks of a successful Alaskan angler.
Disclaimer
Fishing in Alaska involves inherent risks, including but not limited to unpredictable weather, strong currents, wildlife encounters, and marine hazards. The information provided in this guide is for informational purposes only and should not replace professional guidance, adherence to all local regulations, or sound judgment. Always prioritize safety, wear appropriate personal flotation devices, and be prepared for changing conditions. Consult official Alaska Department of Fish and Game resources for the latest regulations, seasons, and emergency orders before planning any fishing trip.