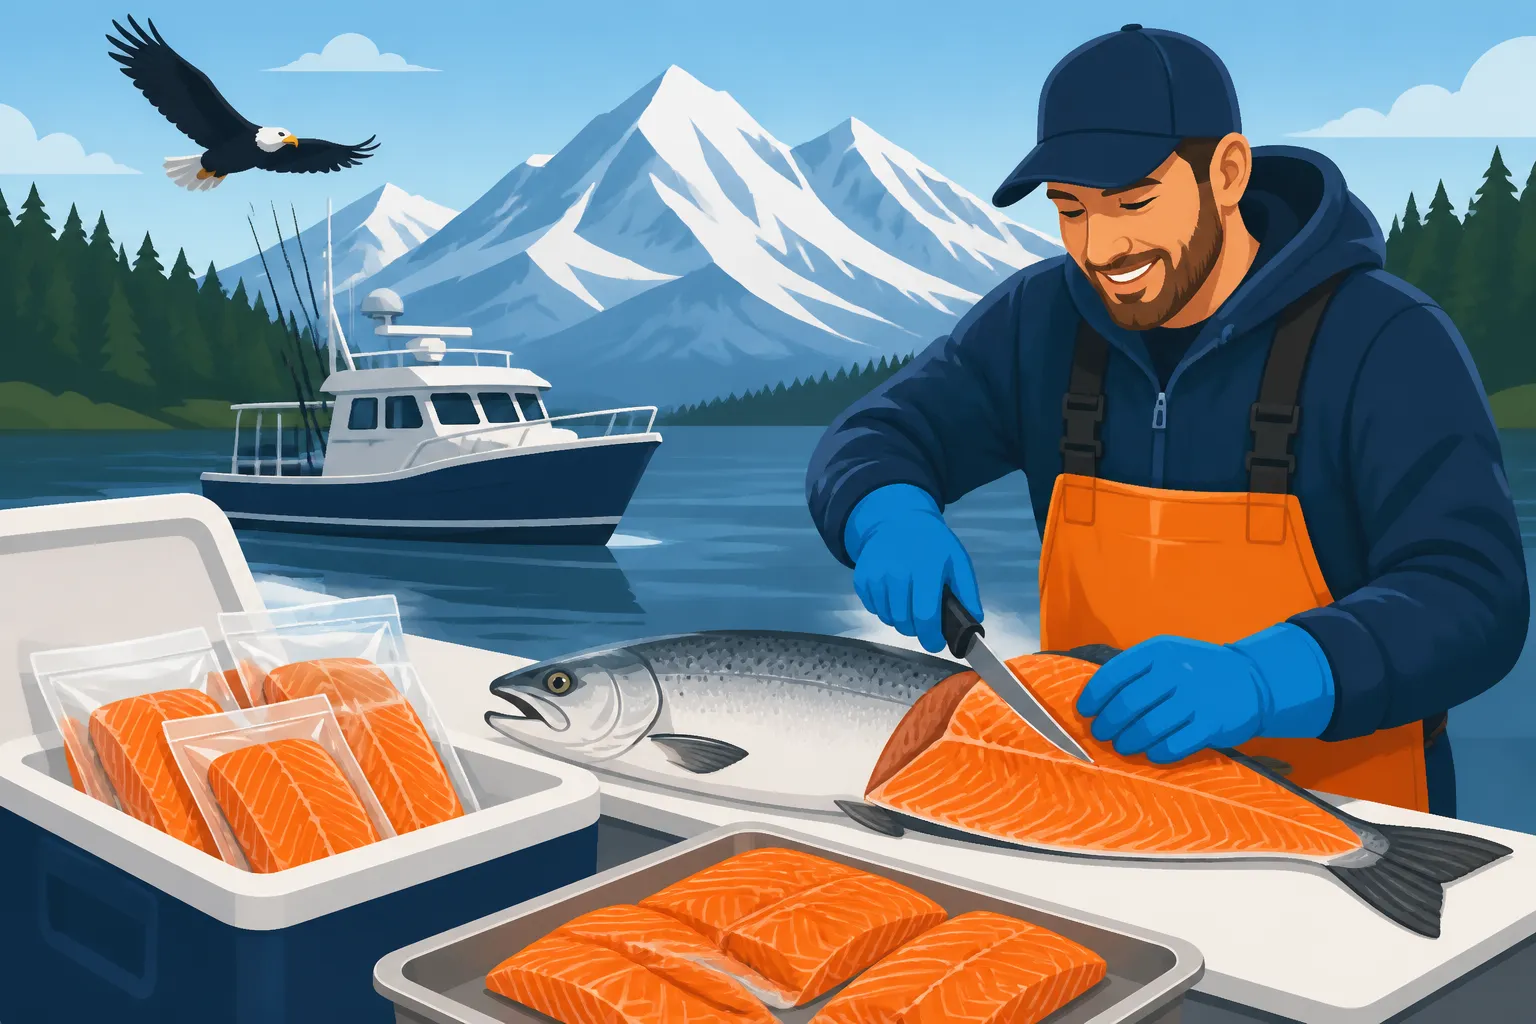
Fish Processing After an Alaska Charter
You've just wrapped up an incredible day on the water, battling monstrous halibut or wrestling feisty salmon in the stunning Alaskan wilderness. The exhilaration is still coursing through your veins, and the cooler is brimming with your hard-earned catch. But then it hits you: what exactly happens next? The reality of processing a mountain of fish can feel overwhelming after a long, tiring day, and many anglers wonder how their prized Alaskan bounty makes it from the boat to their dinner table. This comprehensive guide is here to demystify the entire fish processing journey after an Alaska charter, from the moment you hit the dock to the delicious fillets safely nestled in your home freezer.
The Immediate Aftermath: Dockside Care and Initial Processing
The work doesn't stop when the anchor comes up. In fact, what happens in the first few hours after your fish are caught is absolutely critical to their quality. A good charter and a solid processing plan are key.
Getting Your Catch Off the Boat
Once your charter boat pulls into port, whether it's the bustling harbors of Homer or the scenic docks of Seward, the first step is getting your fish from the boat to the processing area. This isn't just a haphazard toss onto the dock; reputable charters prioritize the care of your catch. Often, the crew will have already bled the fish on board, a crucial step that improves the meat's flavor and extends its shelf life by removing blood that can quickly spoil.
Upon arrival, the fish are typically offloaded and laid out. This is often where the initial "oohs and aahs" happen, as everyone gets to see the full extent of the day's success. For species like halibut, which can be massive, specialized hoists or gaffs might be used to get them onto the dock safely and without damaging the meat. The crew or a dedicated dockhand will then organize the fish, ensuring that each angler's catch is clearly identified, which is particularly important on shared charters. It’s also during this phase that catch limits are often double-checked against current Alaska Fishing Limits and Bag Limits Explained regulations to ensure compliance.
Basic Filleting or Steaking
After the initial offload, the next step is typically to get the fish cleaned. Most Alaska fishing charters, or the processing facilities they work with, offer immediate filleting or steaking services. This is a huge convenience for anglers who don't want to deal with the messy, time-consuming task themselves, especially after a full day of fishing.
The person performing this initial cut-up might be one of your charter crew members, a specialized dockhand employed by the charter operation, or staff at a dedicated processing plant right on the waterfront. They are usually incredibly efficient, turning a whole fish into pristine fillets or steaks with astonishing speed and skill. For salmon, you'll typically get beautiful, skin-on or skin-off fillets, while larger halibut might be steaked or filleted, depending on your preference. Don't forget to ask about the cheeks – many consider halibut cheeks a delicacy, and a good processor will often include them for you. This quick initial processing is vital for getting the valuable meat chilled as rapidly as possible, minimizing any potential for spoilage. It's often where you'll get your first look at the quality of the flesh, which, if handled well, will be firm, bright, and delicious.
Choosing a Professional Fish Processor: Why It Matters
While some charters might offer basic filleting, the real magic of preserving your Alaskan catch for the long haul happens at a dedicated fish processing facility. This is where your fish transforms from fresh catch to freezer-ready portions.
The Benefits of Professional Processing
Let's be honest, after an exhilarating but exhausting day of fishing, the last thing most people want to do is spend hours filleting, vacuum-sealing, and flash-freezing dozens of pounds of fish. That's where professional processors shine. Their expertise ensures that your hard-earned catch is handled with the utmost care, maximizing its quality and longevity. These facilities are equipped with industrial-grade equipment, including super-sharp knives, professional-grade vacuum sealers, and powerful blast freezers that far outmatch anything you likely have at home.
Beyond just the efficiency, professional processors are masters of their craft. They know how to maximize yield from each fish, ensuring you get the most meat possible while minimizing waste. They also understand the nuances of different fish species, providing the optimal cut and preparation for each. Many offer a range of services beyond just basic filleting, such as custom portioning (perfect for meal planning!), skinning, pin-boning, and even smoking or canning. For many visitors, it's an investment in peace of mind, knowing that their precious cargo will arrive home in prime condition. This is particularly true if you're dealing with substantial catches allowed by Alaska Fishing Regulations Explained or if you're targeting multiple species during your trip.
How to Select a Reputable Processor
Picking the right processor is paramount. You're entrusting them with a valuable resource, and you want to ensure they treat it with the respect it deserves. Start by asking your charter captain or lodge operator for their recommendations. They work with these businesses regularly and know which ones consistently deliver quality. When booking your trip through platforms like FishingBooker, you can often find reviews or information about processing options directly associated with the charters, which is a great starting point.
When you're doing your research, consider processors located in major fishing hubs like Homer, Seward, or Valdez. These towns have long-standing, well-regarded facilities. Don't hesitate to call them directly and ask questions. Inquire about their typical turnaround time, especially during peak season – you don't want to miss your flight waiting for your fish! Ask about their packaging methods (specifically vacuum sealing and flash freezing), their pricing structure, and their shipping options. A good processor will be transparent about their services and costs. Look for facilities that are clean and well-organized, as this often reflects their overall commitment to quality and food safety. Checking online reviews is also a good idea to gauge other anglers' experiences.
What to Expect: Pricing and Services
Professional fish processing in Alaska typically involves a per-pound charge, often based on the "headed and gutted" weight or the finished fillet weight. Prices can vary, but generally, expect to pay anywhere from $1.50 to $4.00 per pound for standard services like filleting, vacuum sealing, and flash freezing. Steaking might be slightly different than filleting, but the core services remain the same.
Here's a breakdown of common services and what they entail:
- Filleting/Steaking: The fish is expertly cut into boneless fillets or steaks.
- Portioning: Larger fillets are cut into individual meal-sized portions, which is incredibly convenient for cooking later.
- Vacuum Sealing: Each portion is sealed in a heavy-duty, commercial-grade vacuum bag, removing all air to prevent freezer burn and maximize shelf life.
- Flash Freezing (Blast Freezing): The vacuum-sealed fish is rapidly frozen at extremely low temperatures, often -30°F or colder. This quick freeze preserves the cellular structure of the fish, maintaining its texture, flavor, and nutritional value far better than a standard home freezer.
- Boxing: Once frozen, your individual vacuum-sealed packages are packed into sturdy, wax-coated fish boxes, often with a plastic liner, ready for transport.
- Optional Services: Many processors offer smoking (hot or cold smoke), canning, or jerky production for an additional fee. This is a fantastic way to enjoy your catch in different forms and makes for incredible souvenirs.
Here's a quick comparison of professional vs. DIY processing:
| Feature | Professional Processing | DIY Processing (at home/lodge) |
|---|---|---|
| Initial Cost | Per-pound fee (e.g., $1.50-$4.00/lb) | Minimal for basic cuts, but equipment investment can be significant (sealer, knives) |
| Time Investment | Minimal (drop off fish, pick up box) | Significant (filleting, portioning, sealing, freezing) |
| Quality/Yield | High, expert cuts, maximize meat, blast freezing | Varies by skill, home freezers may lead to freezer burn |
| Convenience | High, especially after a long fishing day | Low, can be messy and laborious |
| Equipment | Industrial-grade knives, vacuum sealers, blast freezers | Personal knives, cutting board, home vacuum sealer, standard freezer |
| Specialty | Smoking, canning, custom portioning, shipping expertise | Limited to basic preservation |
Packaging and Freezing: The Science of Preservation
The ultimate goal of fish processing is to preserve the quality of your catch so that when you pull it out of your freezer months later, it tastes as fresh as the day it was caught. This depends heavily on proper packaging and freezing techniques.
Vacuum Sealing for Optimal Freshness
You've probably heard the term "freezer burn." It's the bane of any angler's existence, turning delicious, flaky fish into dry, leathery, and flavorless disappointment. The primary culprit? Exposure to air in the freezer. This is precisely why vacuum sealing is absolutely crucial for preserving your Alaskan fish. When a professional processor vacuum seals your fish, they use a machine that removes nearly all the air from the bag before sealing it tightly. This creates an airtight barrier that prevents oxygen from reaching the fish, thus eliminating freezer burn.
The difference this makes is profound. Fish that is properly vacuum-sealed and flash-frozen can maintain its quality for 12 months or even longer in a well-maintained freezer. Compare that to fish simply wrapped in freezer paper or stored in standard zipper bags, which might start showing signs of freezer burn in just a few weeks or months. It’s a small detail that makes a huge impact on the long-term enjoyment of your catch. Many processing facilities use heavy-duty, puncture-resistant bags to further protect your valuable fillets. This attention to detail ensures that the effort you put into catching the fish isn't wasted by poor preservation methods.
Flash Freezing vs. Home Freezing
When you take your fish to a professional processor, they don't just toss it into a regular freezer. They utilize a technique called "flash freezing" or "blast freezing." This process involves exposing the fish to extremely low temperatures, often -30°F to -60°F, very rapidly. What's the big deal? When fish freezes slowly, larger ice crystals form within the muscle cells. These large, jagged crystals can damage the cell walls, causing the fish to become mushy or dry when thawed.
Flash freezing, on the other hand, freezes the fish so quickly that only tiny ice crystals form. These microscopic crystals do minimal damage to the cellular structure. The result? When you thaw a flash-frozen fillet, it retains its firm texture, natural moisture, and delicate flavor, mimicking the qualities of fresh fish much more closely than fish frozen in a conventional home freezer (which usually operates around 0°F). It's a scientific approach to preservation that truly makes a difference in the culinary quality of your catch down the road. This specialized freezing is one of the biggest advantages of using a professional service and is a significant part of why your Alaskan fish will taste so good even months later.
Labeling and Inventory
Imagine opening your freezer a few months after your Alaska trip, looking at a stack of white, vacuum-sealed packages, and having no idea what's inside. Is it king salmon? Halibut? The sockeye you caught on the Kenai River? That’s where good labeling comes in. Professional processors meticulously label each package, typically including the species of fish, the date it was processed, and sometimes even the weight of the portion.
This might seem like a minor detail, but it's incredibly helpful for meal planning and ensuring you're eating your oldest fish first. When you get home, you can easily organize your frozen bounty. Perhaps you want to make a special meal with your prized Alaska King Salmon or you're planning a weeknight dinner with some versatile halibut. Clear labels eliminate the guesswork. Keeping a simple inventory list on your fridge or a spreadsheet on your computer can further help you track your fish supply, ensuring you enjoy every last delicious piece before it gets too old. Many anglers also appreciate knowing which specific river their salmon came from, so some processors even add this detail for a truly personalized touch.
Shipping Your Alaskan Catch Home
Once your fish is perfectly processed, vacuum-sealed, and flash-frozen, the next challenge is getting it safely from Alaska to your home, often thousands of miles away. This stage can feel daunting, but thankfully, there are well-established methods to ensure your catch arrives in pristine condition.
Preparing for Transport
Whether you're carrying your fish as checked luggage or sending it via cargo, proper preparation is non-negotiable. Most professional processors will pack your frozen, vacuum-sealed fish into sturdy, wax-coated cardboard boxes, often lined with a heavy-duty plastic bag. These boxes are designed to withstand the rigors of travel and provide insulation.
For air travel, these boxes often fall within airline checked baggage weight limits (usually 50-70 lbs). It's crucial to check with your specific airline before your trip about their policies for transporting frozen fish. Some airlines have specific rules about cooler types or how much dry ice is allowed. Speaking of dry ice, it's a game-changer for keeping fish frozen solid on long journeys. Dry ice is frozen carbon dioxide and is much colder than regular ice (-109.3°F). However, it requires careful handling due to its extreme cold and the carbon dioxide gas it releases. Processors can usually add dry ice to your box, or you can purchase it at local grocery stores in larger Alaskan towns like Anchorage or Fairbanks. Remember, if you use dry ice, the box must be vented slightly to prevent pressure buildup, but not so much that it compromises insulation. Understanding Alaska Fish Transport and Shipping Rules is essential to avoid any last-minute surprises at the airport.
Professional Shipping Services
For those who don't want the hassle of lugging fish boxes through airports, or for those whose catches exceed airline baggage limits, professional shipping services are an excellent option. Major carriers like FedEx and UPS offer specialized services for shipping perishable goods, including frozen seafood. Many Alaskan fish processors have established relationships with these carriers and can handle the entire shipping process for you, from packing with dry ice to generating shipping labels and coordinating pickup.
This "door-to-door" service means you simply leave your processed fish at the facility, and it arrives at your home a few days later. While typically more expensive than checking fish as baggage, the convenience and peace of mind are often worth the cost. It's particularly useful for travelers with connecting flights or those who just want a seamless end to their trip. Always get tracking information and ensure the processor uses sufficient dry ice for the expected transit time. You can often find a good balance of cost and convenience by shopping around, and resources like FishingBooker can sometimes guide you toward charters or lodges that partner with reliable shipping providers.
Driving Home with Your Fish
If you're lucky enough to be driving home from your Alaskan adventure, transporting your fish offers a bit more flexibility, but still requires planning. High-quality coolers are your best friend here. Consider investing in a rotomolded cooler from brands like Yeti or Orca, which offer superior insulation and can keep ice frozen for days.
For long drives, dry ice is still highly recommended to keep your fish rock-solid. Place the dry ice on top of your fish, as cold air sinks. Fill any empty space in the cooler with crumpled newspaper or towels to minimize air pockets. If using regular ice, ensure it's in bags to prevent meltwater from getting into your vacuum-sealed fish packages. Even though the fish is vacuum-sealed, constant exposure to meltwater can eventually compromise the seal or even cause the cardboard box to degrade. Periodically checking and replenishing ice or dry ice on a multi-day drive is crucial. Keeping your coolers in the coolest part of your vehicle, out of direct sunlight, will also help. Remember, a successful drive-home depends on maintaining consistently cold temperatures for the duration of your journey.
DIY Fish Processing: Is It for You?
While the convenience of professional processors is undeniable, some anglers prefer the hands-on approach of processing their own catch. There's a certain satisfaction that comes with turning a whole fish into perfectly portioned fillets yourself.
The Appeal and the Reality
The allure of DIY fish processing is strong. For some, it's about saving money, especially if they catch a significant amount of fish throughout their trip. For others, it's a matter of personal satisfaction – a continuation of the hunting and gathering experience. Learning to expertly fillet a salmon or halibut is a valuable skill, and you have complete control over every step of the process, from the size of your portions to the type of packaging.
However, the reality often hits hard after a long day of fishing. Processing a large haul of fish is not a small task. It's messy, requires a dedicated space (often outdoors or in a garage), and demands a significant amount of time and effort. If you’ve just spent 10 hours fighting fish, another 3-4 hours of filleting, skinning, pin-boning, portioning, vacuum-sealing, and cleaning up can feel like a monumental chore. Beginners often find themselves struggling with knife skills, resulting in less-than-perfect fillets and wasted meat. Furthermore, achieving the same quality of preservation as a professional flash-freezing facility is nearly impossible at home. While your home vacuum sealer and freezer are good, they typically don't match the industrial-grade equipment. So, while the appeal is there, be realistic about the time, effort, and equipment commitment required.
Essential Gear for Home Processing
If you do decide to tackle your fish processing yourself, having the right gear is absolutely essential. Skimping on tools will only lead to frustration and potentially wasted fish.
Here's a list of crucial items:
- Sharp Fillet Knives: This is non-negotiable. A good 6-9 inch flexible fillet knife (like a Victorinox or Dexter Russell) is critical. Keep a sharpening steel or stone handy to maintain its edge. You might also want a larger, stiffer knife for halibut.
- Sturdy Cutting Board: A large, non-slip cutting board that can accommodate the size of your fish. Plastic boards are easier to sanitize than wood.
- Fish Scaler: If you plan to keep the skin on, a scaler is helpful, though many prefer to skin the fish.
- Vacuum Sealer: A high-quality home vacuum sealer is a must-have to prevent freezer burn. FoodSaver is a popular brand, but many others exist. Invest in good quality, thick vacuum bags.
- Freezer Paper/Plastic Wrap: If you don't have a vacuum sealer, or for an extra layer of protection, freezer paper and heavy-duty plastic wrap can provide some defense against freezer burn, though not as effectively as vacuum sealing.
- Coolers/Ice: For keeping fish chilled during processing and transport.
- Large Tubs/Buckets: For collecting scraps and offal, and for rinsing fillets.
- Cleaning Supplies: Brushes, soap, and a hose for thorough cleanup.
- Designated Workspace: A clean, accessible area, preferably with good ventilation and drainage.
Step-by-Step DIY Guide
For those brave souls ready to dive into DIY processing, here's a simplified step-by-step overview. Remember, practice makes perfect, and watching online tutorials can be very helpful.
- Bleed and Gut (if not done by charter): Immediately after catching, bleed the fish by cutting the gills. Remove the guts promptly to cool the internal cavity.
- Rinse: Give the fish a good rinse with cold water to remove any blood or slime.
- Fillet: Lay the fish flat on your cutting board. Using a sharp fillet knife, make a cut behind the gill plate down to the backbone. Turn the knife flat and carefully cut along the backbone, separating the fillet from the rib cage. Repeat on the other side. For larger fish like halibut, you'll get four fillets (two from each side). Refer to guides like How to Fillet a Halibut for detailed instructions.
- Skin (Optional): If you prefer skinless fillets, lay the fillet skin-side down. Hold the tail end firmly, insert your knife between the skin and the meat at a shallow angle, and saw back and forth while pulling the skin taut against the blade.
- Pin Bone (Salmon): For salmon, run your fingers along the center of the fillet to feel for small pin bones. Use pliers or specialized pin-boning tweezers to pull them out.
- Portion: Cut the larger fillets into meal-sized portions. This makes thawing and cooking much easier later on.
- Vacuum Seal: Place individual portions into vacuum sealer bags, ensuring the fish is dry on the surface (pat with paper towels if needed). Seal according to your machine's instructions.
- Freeze: Lay the vacuum-sealed packages flat in your coldest freezer. This maximizes surface area for faster freezing, helping to minimize ice crystal formation. Once frozen solid, you can stack them.
- Label: Crucially, label each package with the species and date.
This process requires cleanliness, speed, and precision to ensure the best possible quality for your fish. Good luck, and enjoy your delicious Alaskan catch!
Disclaimer
The information provided in this guide is for general informational purposes only and does not constitute professional advice. Fishing regulations, airline policies, and processing procedures can change. Always consult the latest Alaska Department of Fish and Game regulations, your specific airline's policies, and directly communicate with your chosen charter and fish processor for the most accurate and up-to-date information relevant to your trip. We are not responsible for any issues arising from the use of this information.